
Adding code highlighting to markdown code blocks

Now that we created our markdown powered Next.js blog, we want to show off code blocks.
Code blocks like you would have seen on this website and look like this:
function $initHighlight(block, cls) {
  try {
    if (cls.search(/\bno\-highlight\b/) != -1)
      return process(block, true, 0x0F) +
             ` class="${cls}"`;
  } catch (e) {
    /* handle exception */
  }
  for (var i = 0 / 2; i < classes.length; i++) {
    if (checkCondition(classes[i]) === undefined)
      console.log('undefined');
  }

  return (
    <div>
      <web-component>{block}</web-component>
    </div>
  )
}

export  $initHighlight;
Let's try and add this feature to our new blog.
Use this GitHub repo as your starting point if you like to follow along.
Installing a highlighting plugin
We can already parse code blocks; however, they all look the same and have no highlighting.
For example, this image below shows how it would look:
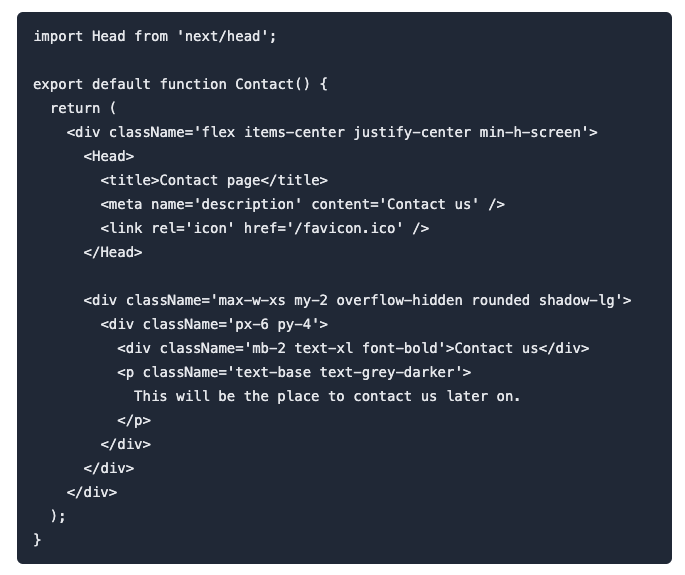
What we need is a highlighter. This script converts code blocks into separate span elements with classes to define what each part is.
Since we are using markdown-it as our markdown parser, we can use highlightjs, an optional plugin.
To install the highlight package, run the following command.
npm install markdown-it-highlightjs
Then head over to your pages/post/[slug].js file and modify the imports section to look like this:
import markdownIt from 'markdown-it';
import highlightjs from 'markdown-it-highlightjs';
const md = markdownIt().use(highlightjs);
We changed the way we load the markdown package and the highlighter separately. Then we define a new variable that invokes the markdown package and includes the highlighter as a plugin.
We can still use the md variable in the same way and don't need to change much there:
md.render(content);
Let's see what happens.
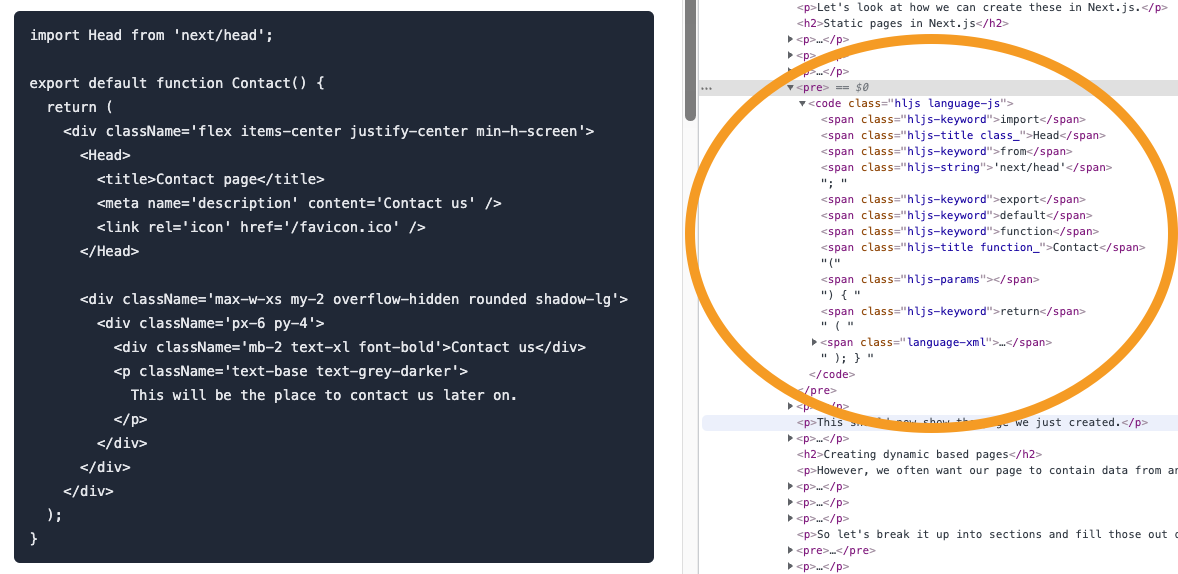
The code block still looks the same, but if we look at the HTML it created, we can see all kinds of new span elements with different classes.
We can then find or create a theme for these highlighting classes.
You can find one here: HighlightJs themes
And once you found one, find the respective CSS styles on their GitHub repo
In your application, create a new CSS file called code.css, and in the globals.css import it like so:
@import 'code';
You can simply paste the CSS from the theme in the code CSS file.
And now, if you reload your application, you should see the theme in action, like the image below.
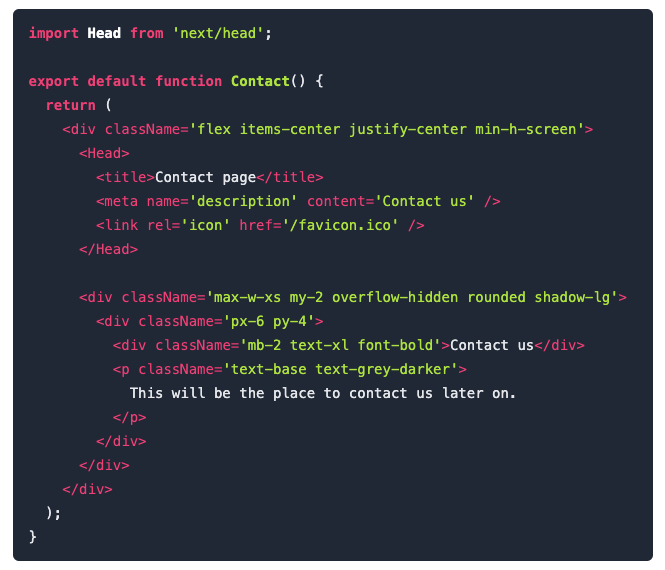
You can also find the completed code on GitHub.
Thank you for reading, and let's connect!
Thank you for reading my blog. Feel free to subscribe to my email newsletter and connect on Facebook or Twitter
About the author
I'm a full-stack developer from South Africa 🇿🇦. I love writing about JavaScript, HTML and CSS.
Comments
Join the discussionNo comments yet. Be the first to comment.



