
Adding a TOC in Astro

I'm a full-stack developer from South Africa 🇿🇦. I love writing about JavaScript, HTML and CSS.
A big part of Markdown is that it's great to write articles and not worry about the markup quickly.
But at the same time, that brings some limitations with it. Limitations like how we can add a table of contents? (TOC)
This article will show you how to add one of those TOCs to your Astro-powered website.
Note: I'll be using Astro v0.23 for this article
Setting up the framework
Let's set up a basic framework to work with.
npm init astro -- --template blog
This will set up a basic Astro blog started, visit the pages/post folder and modify the existing post to include a complete markdown structure with some headings.
Headings are created by using the # sign. (One for each heading)
# Heading 1
## Heading 2
### Heading 3
Once you are happy with the blog post, run the website and see how it looks.
npm run dev
You should have a very minimalistic blog with a detailed article by now.
Adding the TOC markdown plugin
Luckily, we won't have to create this plugin from scratch.
There are amazing rehype plugins already made that we can use.
First, let's install the plugins we need, which are:
rehype-autolink-headingsrehype-slugrehype-toc
To install them run the following command:
npm i rehype-autolink-headings rehype-toc rehype-slug
With those installed, we can tell Astro to start using these plugins.
Open up the astro.config.mjs file. This file handles all the things around the build of Astro.
The first thing we have to do is import the existing Astro remark rendered. This holds all of Astro's needed config.
import astroRemark from "@astrojs/markdown-remark";
Then inside the export we need to add a new options for markdown, which will look like this:
export default /** @type {import('astro').AstroUserConfig} */ ({
    renderers: [],
    buildOptions: {
        site: 'https://example.com/',
    },
    markdownOptions: {
        render: [
            astroRemark,
            {
                rehypePlugins: [
                    "rehype-slug",
                    [
                        "rehype-autolink-headings",
                        { behavior: "append"},
                    ],
                    [
                        "rehype-toc",
                        { headings: ["h1", "h2"] }
                    ]
                ],
            },
        ],
    },
});
As you can see, we added the markdownOptions, and inside we added the default astroRemark and then the plugins we want to use.
It's important to note the order of these plugins seems to make a difference, so start by adding the rehype-slug since the other two rely on that.
You can see the auto-link headings and TOC plugin come with a configuration object. You can modify or change this however you need.
When you re-run your website (it's crucial to re-run as this will only take effect then), you should see a super cool TOC that you can click and navigate from.
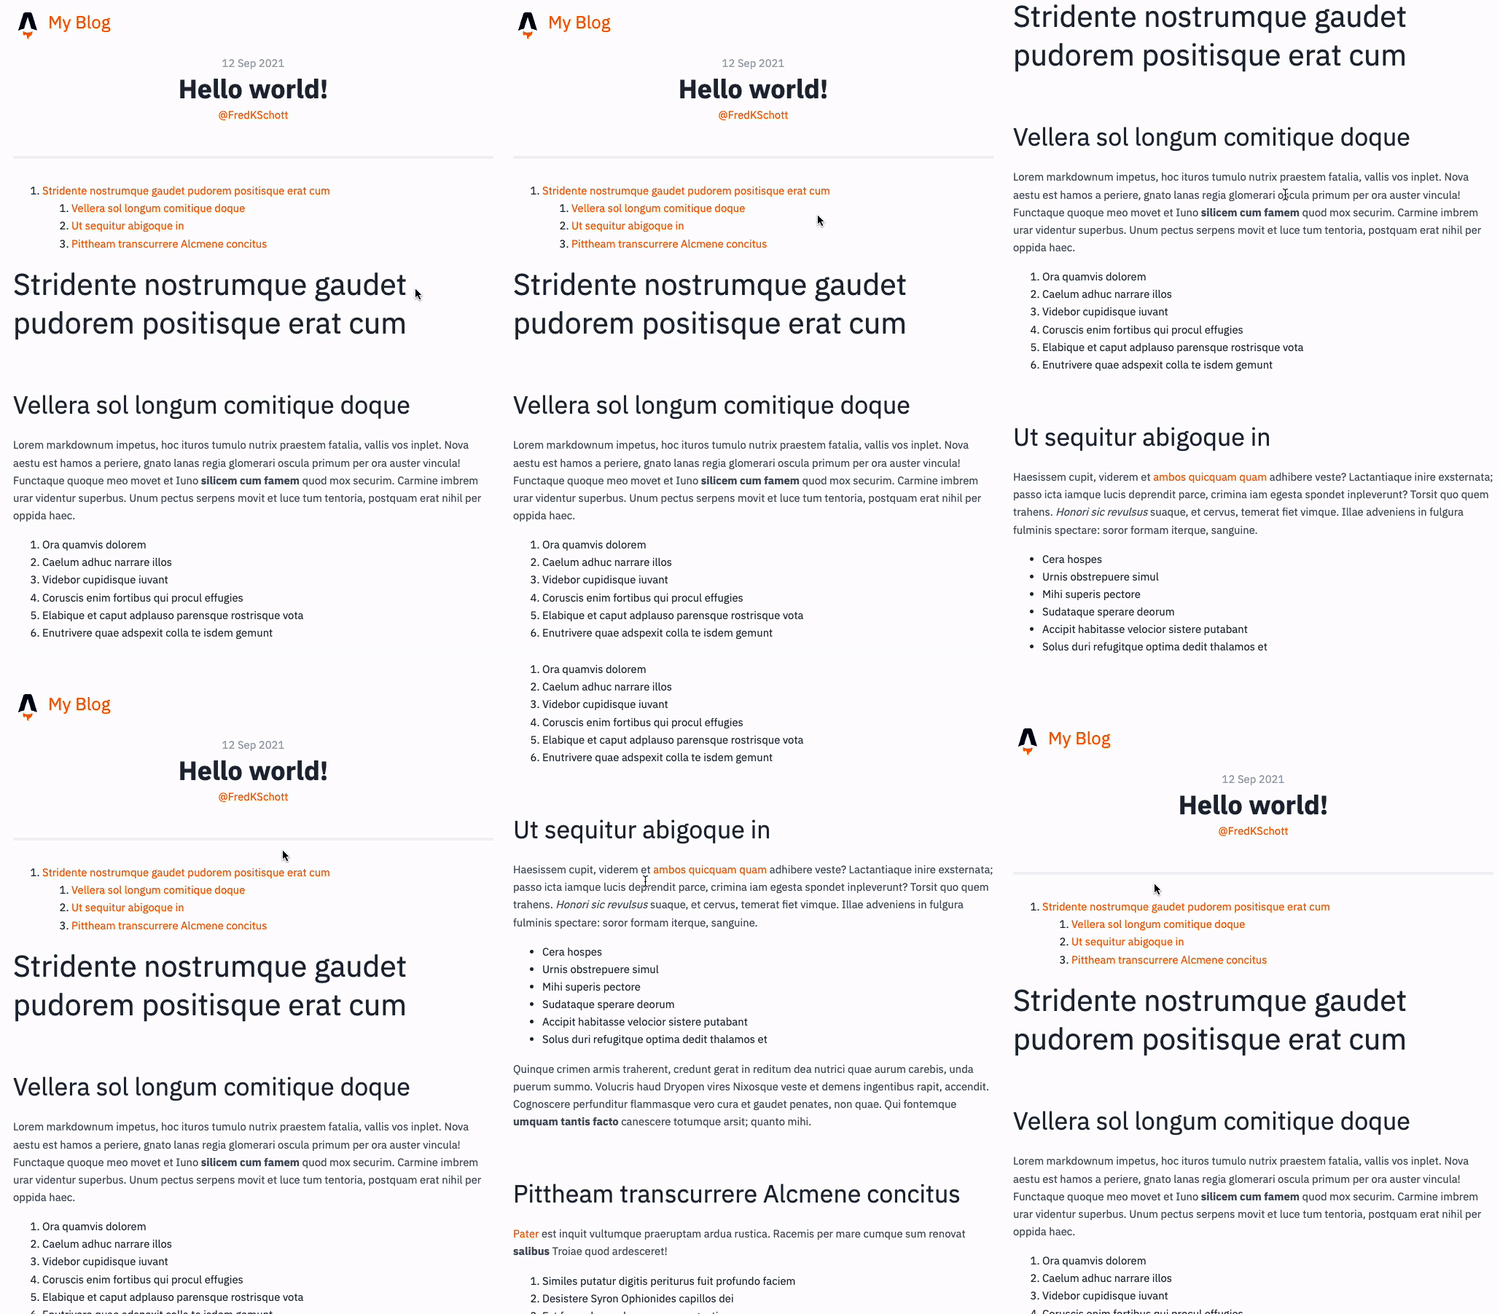
You can also find the complete code example on GitHub.
Thank you for reading, and let's connect!
Thank you for reading my blog. Feel free to subscribe to my email newsletter and connect on Facebook or Twitter



