
Adding a snackbar in Flutter

I'm a full-stack developer from South Africa 🇿🇦. I love writing about JavaScript, HTML and CSS.
I don't mean the Dutch word snackbar (see image below), but a toast-like message that we can use to feedback to the user.
Using snackbars in mobile apps is very common as they are a perfect way to provide valuable feedback.
For today's article, I will be using my Flutter hello world app as the starting point.
Requirements for a Flutter snackbar
The cool part is that the only requirement for using a snackbar in Flutter is wrapping our application in a scaffold. Something we do most of the time anyway.
We can then use something called the ScaffoldMessenger to send a message on specific actions.
Snackbars themselves can have options in return which we'll also have a look at.
Invoking a snackbar in Flutter
Let's add a button to our application so we can use that to invoke our snackbar.
class MyApp extends StatelessWidget {
  @override
  Widget build(BuildContext context) {
    return Center(
      child: ElevatedButton(
        onPressed: () {},
        child: const Text('Open the snackbar'),
      ),
    );
  }
}
This code will give us an empty button.
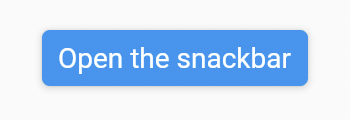
Inside this button, we have the onPressed method, which we'll use to bind our action sheet.
onPressed: () {
  final snackbar = SnackBar(
    content: const Text('Hello world, Snackbar here!'),
  );
  ScaffoldMessenger.of(context).showSnackBar(snackbar);
},
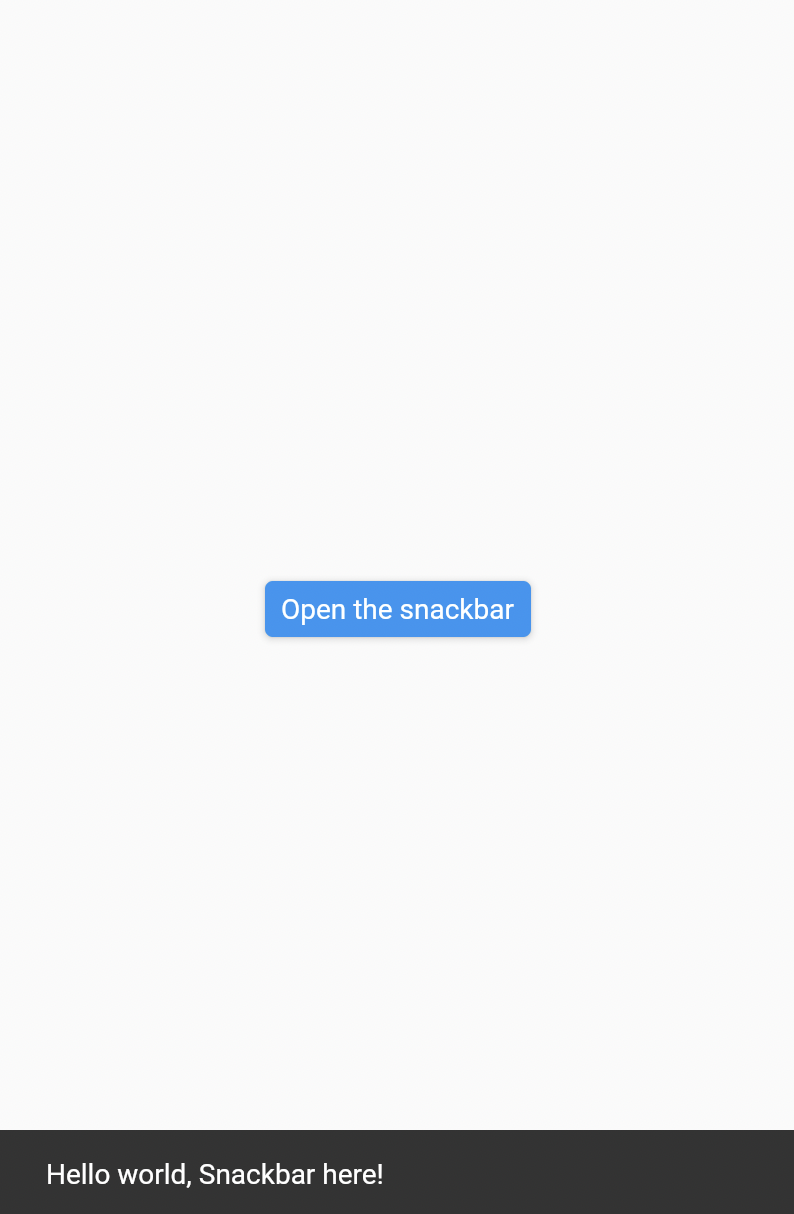
Now, when we click our button, the snackbar will show at the bottom of our screen.
Adding an action to the Flutter snackbar
We can also use the snackbar to give the user action. This might be to undo something they just did.
For instance: User changes a row, the snackbar will show: Successfully modified row x. Then we can have an undo button to revert this change again.
That code will look like this:
onPressed: () {
  final snackbar = SnackBar(
    content: const Text('Successfully modified row x'),
    action: SnackBarAction(
      label: 'Undo',
      onPressed: () {
        // Add your undo code here
      },
    ),
  );
  ScaffoldMessenger.of(context).showSnackBar(snackbar);
},
You need to implement the code that will undo the action you just did in the onPressed callback.
Note: A snackbar is designed only to have one action. For multiple actions, we should use a dialog.

If you want to see the source code, you can find that on GitHub.
Thank you for reading, and let's connect!
Thank you for reading my blog. Feel free to subscribe to my email newsletter and connect on Facebook or Twitter



