


Today we'll be looking at another famous plugin that can easily be self-made. It's the lightbox/modal function, once you click a button or link a pop-up with the content or an image appears.
This is easy to make with some simple CSS and JavaScript.
HTML Structure
<div class="container">
  <a data-modal="modal-one">Open Modal</a>
</div>

<div class="modal" id="modal-one">
  <div class="modal-bg modal-exit"></div>
  <div class="modal-container">
    <h1>Amazing Modal</h1>
    <h2>Pure Vanilla JavaScript</h2>
    <button class="modal-close modal-exit">X</button>
  </div>
</div>
As for our HTML we are having just the modal button visible, and our modal down in our structure.
CSS Modal
The CSS is not really our main focus, but let's walk through it.
.modal {
  position: fixed;
  width: 100vw;
  height: 100vh;
  opacity: 0;
  visibility: hidden;
  transition: all 0.3s ease;
  top: 0;
  left: 0;
  display: flex;
  align-items: center;
  justify-content: center;
  &.open {
    visibility: visible;
    opacity: 1;
    transition-delay: 0s;
  }
  &-bg {
    position: absolute;
    background: teal;
    width: 100%;
    height: 100%;
  }
  &-container {
    border-radius: 10px;
    background: #fff;
    position: relative;
    padding: 30px;
  }
  &-close {
    position: absolute;
    right: 15px;
    top: 15px;
    outline: none;
    appearance: none;
    color: red;
    background: none;
    border: 0px;
    font-weight: bold;
    cursor: pointer;
  }
}
As you can see, nothing fancy, some basic styling, the only thing worth mentioning is that the modal is by default not visible and on a zero opacity. Once it gets the open class, we set the visibility and make it full opacity.
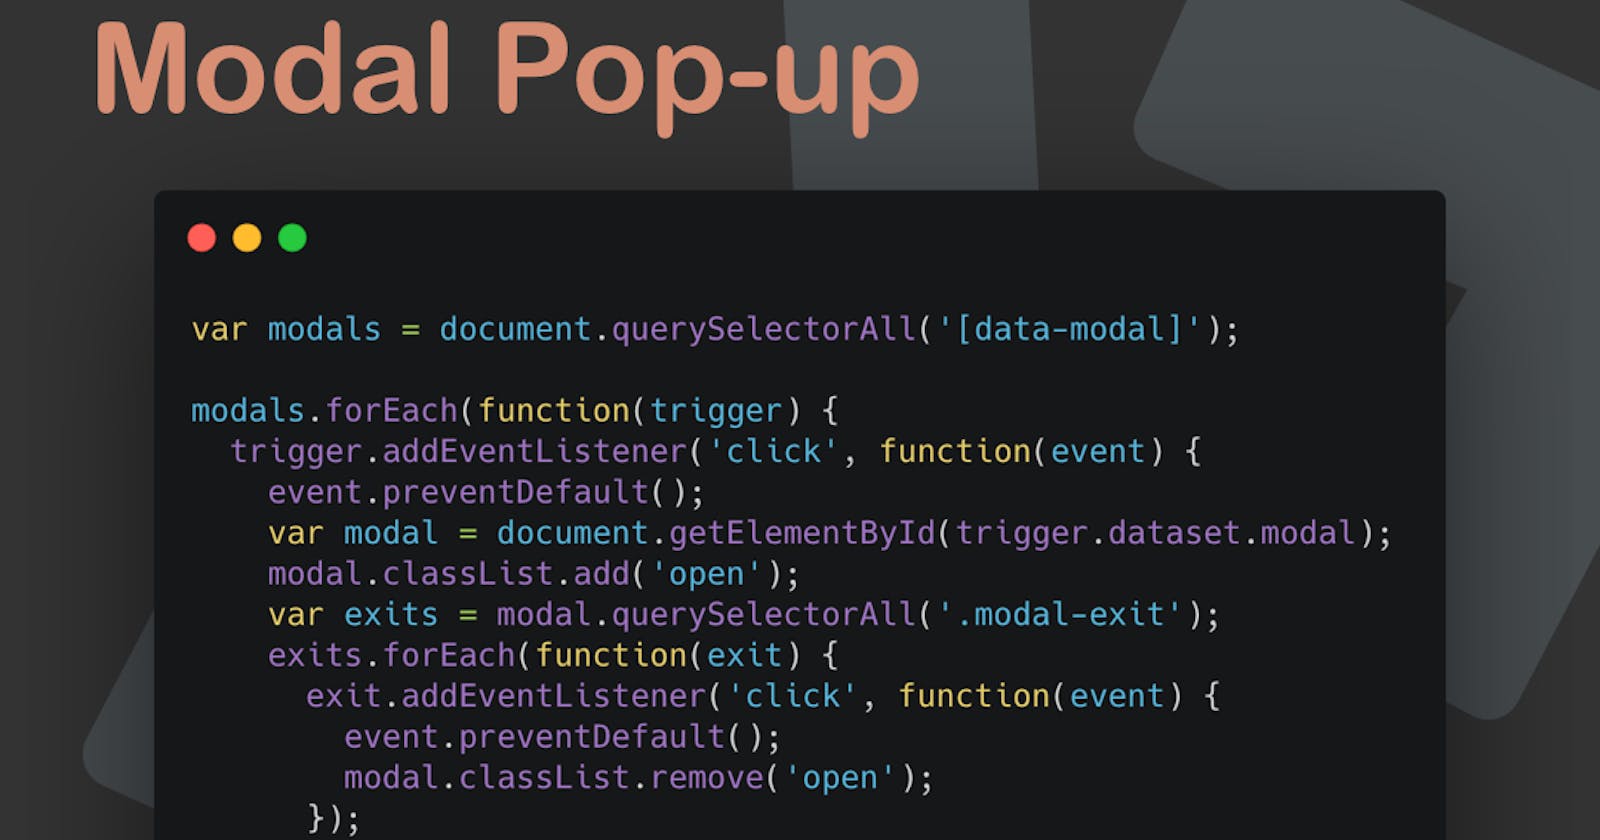
JavaScript Modal Pop-up
On to the most amazing part, the JavaScript!
var modals = document.querySelectorAll('[data-modal]');

modals.forEach(function(trigger) {
  trigger.addEventListener('click', function(event) {
    event.preventDefault();
    var modal = document.getElementById(trigger.dataset.modal);
    modal.classList.add('open');
    var exits = modal.querySelectorAll('.modal-exit');
    exits.forEach(function(exit) {
      exit.addEventListener('click', function(event) {
        event.preventDefault();
        modal.classList.remove('open');
      });
    });
  });
});
So what we are doing is selecting all the data-modal attributes elements and loop over them. These are our triggers, so we need to add an eventListener to them.
Once we click, we find the modal based on the dataset and add the open class to it.
We then search for all the modal-exit classes within the modal.
Which are the background and the cross button.
There you go, a simple pop-up that you can customize and style as you wish, no big javascript libraries, no weird code you don't understand.
Note: This code is not accessible, but showcases the JavaScript part, to make it accessible you can use a plugin like Details Dialog
You can view this example on the following Codepen.
Thank you for reading, and let's connect!
Thank you for reading my blog. Feel free to subscribe to my email newsletter and connect on Facebook or Twitter