


Today we'll learn how to run a WordPress installation on our Mac OS X system.
I used to do a lot of WordPress development and always had to leverage MAMP/XAMP for this. However, in this article, I'll guide you on setting it up locally.
The elements we need to run a WordPress installation locally are as follows:
- Enable PHP
- Apache vhost
- Rewrite and htaccess
- Localhost pointer
- MySQL setup
- WordPress installation
You might be thinking, wow, that's a lot of stuff, but your Mac will come with most of this stuff pre-installed. We will just enable and tweak it.
Enable PHP
Nowadays, your Mac will come with PHP installed. However, you might want to update the version. This is not a needed step, so check out my article on updating the PHP version on Mac OS X.
Once you have a version you're happy with, we have to enable apache to use it.
Open up the httpd.conf file by running:
sudo nano /etc/apache2/httpd.conf
Search (CTRL + W) and remove the # before the php7_module line.
old: # LoadModule php7_module libexec/apache2/libphp7.so
new: LoadModule php7_module libexec/apache2/libphp7.so
Apache vhost
The next thing we need to set up is a virtual host.
Firstly let's enable it in our httpd.conf file.
Look for the following line, and place the new line under it.
#Include /private/etc/apache2/extra/httpd-vhosts.conf
Include /private/etc/apache2/vhosts/*.conf
This will make sure we can use a new config for this virtual host.
For more information, check out Mac OS X setting up Virtual Hosts
Let's go ahead and create the config file.
sudo nano /etc/apache2/vhosts/wordpress.conf
And place the following content in it.
<VirtualHost *:80>
    DocumentRoot "/Users/chrisbongers/www/wordpress"
    ServerName wordpress.dev

    <Directory "/Users/chrisbongers/www/wordpress">
        AllowOverride All
        Require all granted
    </Directory>
</VirtualHost>
You have to set the DocumentRoot to your own directory on your local machine. For me, it's a www folder at my user level. Next, set the ServerName to the URL you want to serve it on.
Localhost pointer
Now we have our domain setup, but nothing is pointing to it yet. So let's enable our localhost pointer.
Open up the local host file.
sudo nano /etc/hosts
And add the following line:
127.0.0.1 wordpress.dev
Rewrite and htaccess
Now let's enable mod_rewrite, so our htaccess will work once we have that setup.
Open the httpd.conf again.
And uncomment the following line.
old: #LoadModule rewrite_module libexec/apache2/mod_rewrite.so
new: LoadModule rewrite_module libexec/apache2/mod_rewrite.so
Now we should also restart apache.
sudo apachectl restart
To read more, check out Making htaccess work on Mac OS X.
MySQL setup
Of course, we'll also need a database, so let's make sure MySQL is installed or installed.
brew install mysql
Alternatively, you can download and install it manually: Mac installing MySQL.
Next, use your favorite Mac MySQL client and create a new table called wordpress.
WordPress installation
By this point, we should have all the building blocks to install WordPress.
You can install it through homebrew, but I'm a bit old school and will install it by downloading it.
Create the folder as you set it in your virtual host.
Then, visit the WordPress download section and download WordPress.
Unzip the folder, and move its contents to the folder you created.
Now by visiting: http://wordpress.dev, we should enter the WordPress setup wizard.
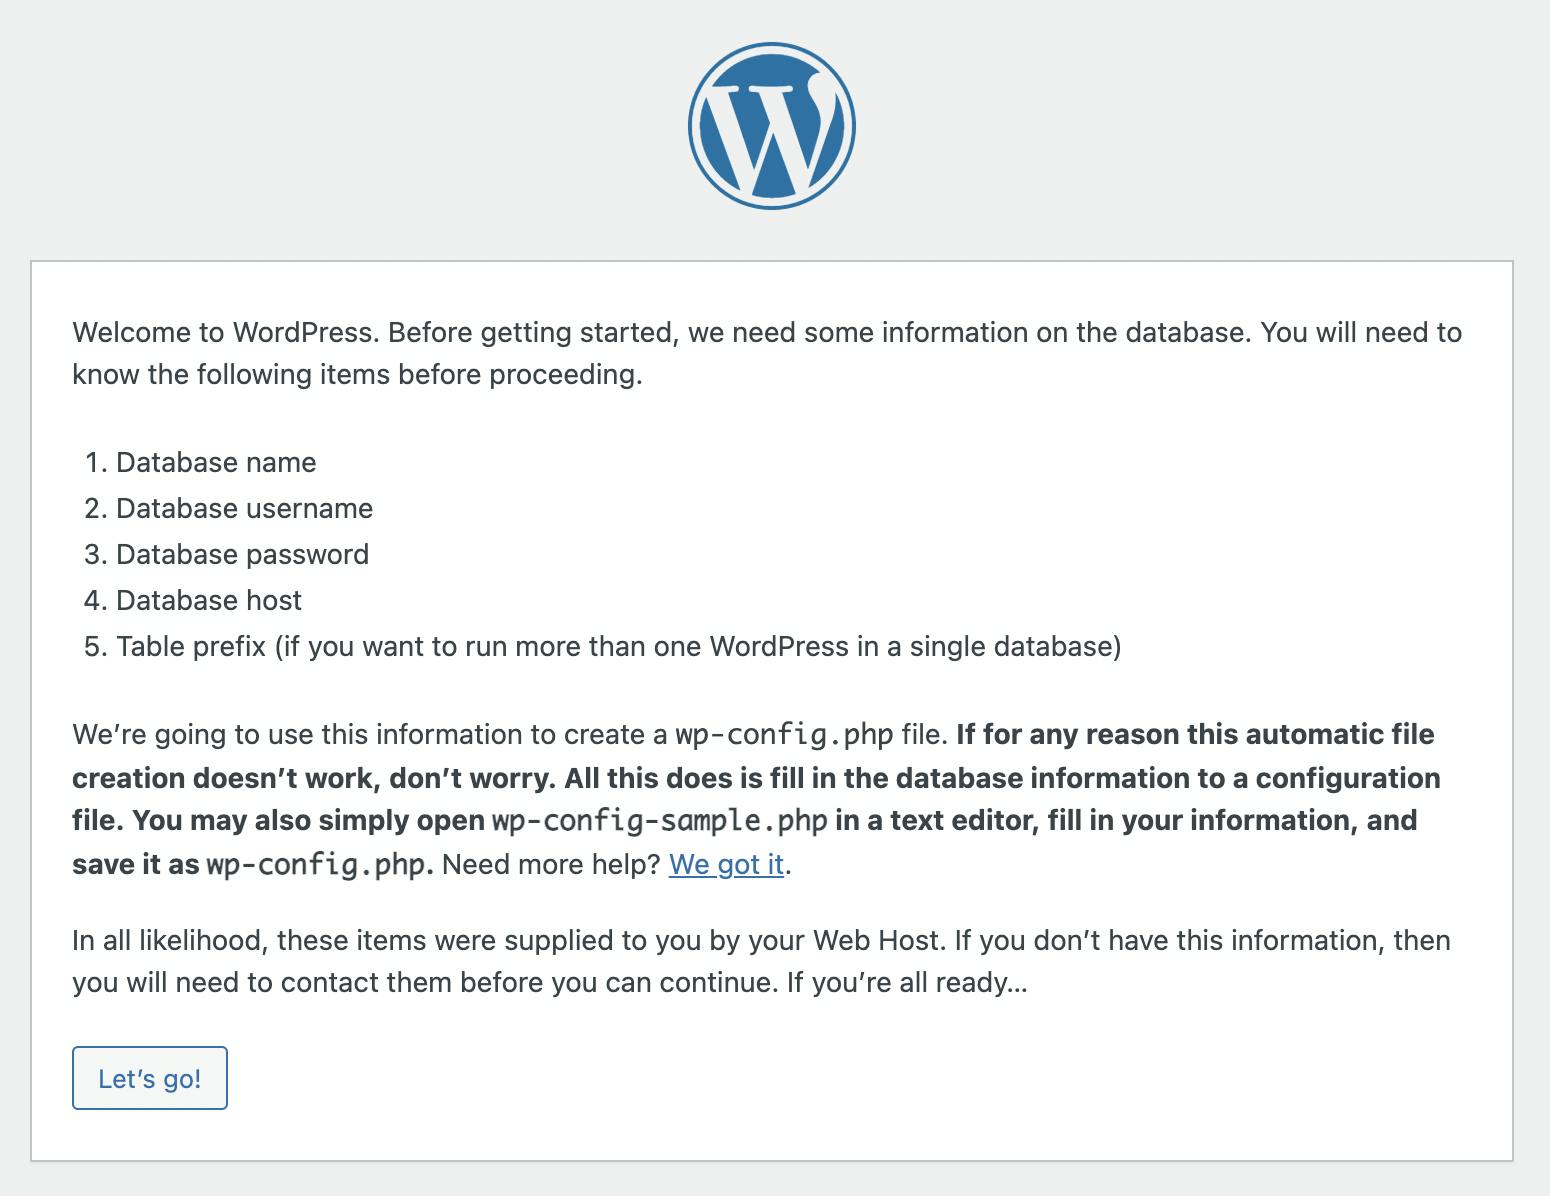
Follow the setup wizard and complete the steps.
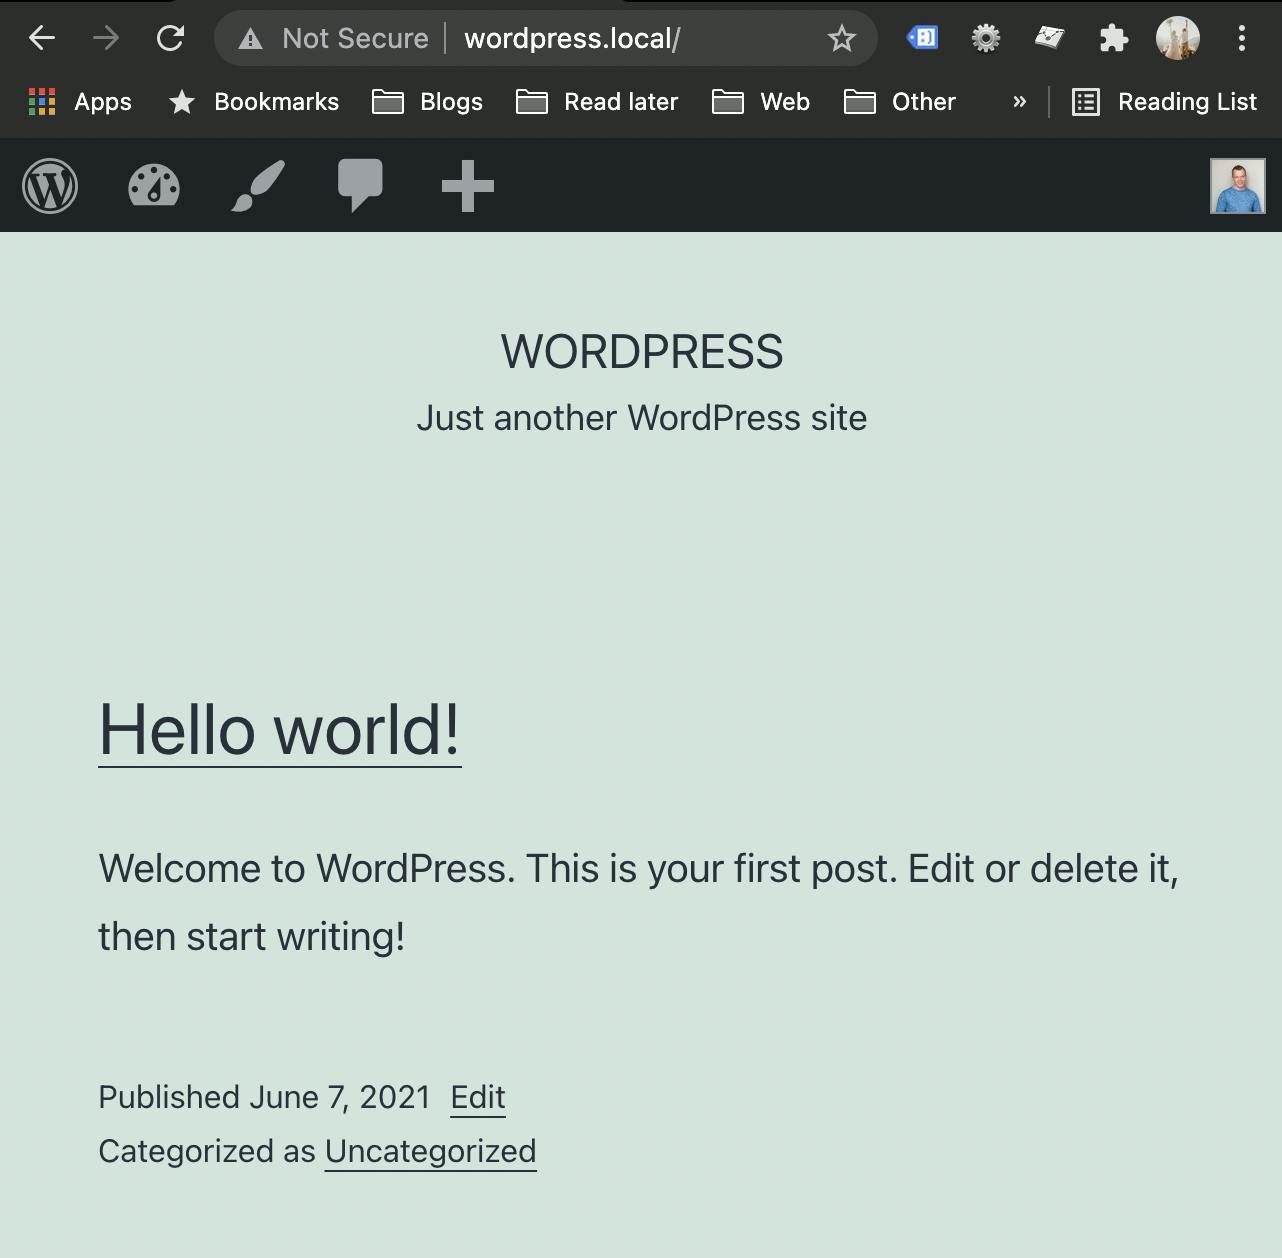
And there you go, a local WordPress installation!
Thank you for reading, and let's connect!
Thank you for reading my blog. Feel free to subscribe to my email newsletter and connect on Facebook or Twitter