
Revue - Sendy sync: Railway hosting

I'm a full-stack developer from South Africa 🇿🇦. I love writing about JavaScript, HTML and CSS.
By now, we should have all our items in place to start hosting our Revue Sendy script.
Let's do a quick recap of what we've built so far:
- We wrote the sync plan
- We collected and tested all APIs
- We started the project and added the Revue calls
- We added the Sendy calls
- We added the webhook routes
The last bit is to bring everything together and test it out.
Seeing this project is only a reasonably simple node server, I decided to go with Railway app. They provide a free and simple way to host these little scripts.
Testing the scripts
Before pushing my live code on the system, I changed my scripts a bit.
Note: It's more a safety thing than anything else at this point, and feel free to skip this step.
Instead of performing the API calls, I changed everything to console.log the responses so I could monitor if everything was working fine.
fastify.post('/sendy-webhook', async function (request, reply) {
  reply.send({ data: request.body });
});
And the primary function is like this:
(async () => {
  console.log('recurring script started');

  // commented out all the other things
})();
Hosting on Railway app
The railway app is a new kid on the block, but it's pretty cool, and the best part is that it's free.
So head to Railway and click the new project button.
There you can pick the option to deploy from GitHub.
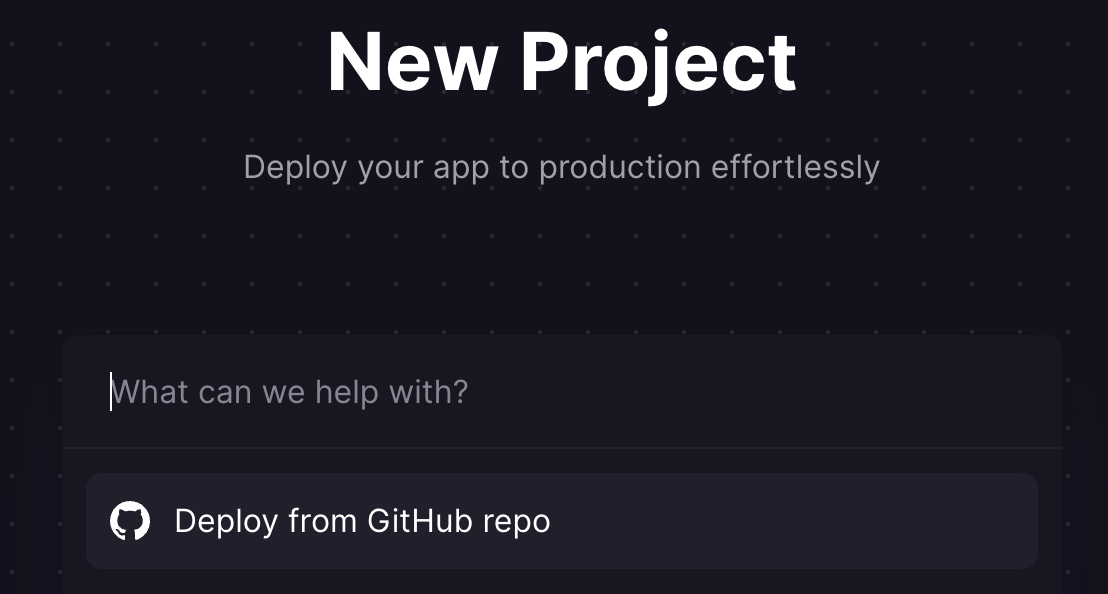
The following steps will ask you to log in and authenticate with GitHub.
Once you go through these steps, pick the project we are working on.
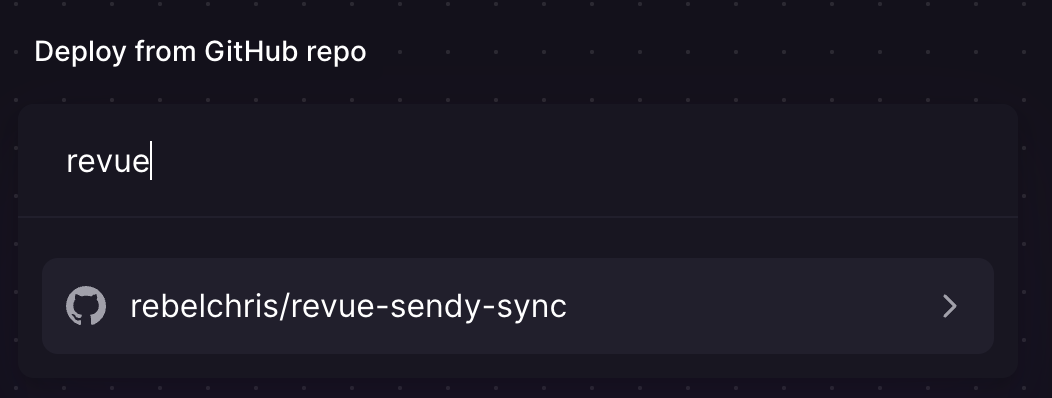
In the next screen, you'll be given the option to deploy now or add variables. I choose to add my variables already.
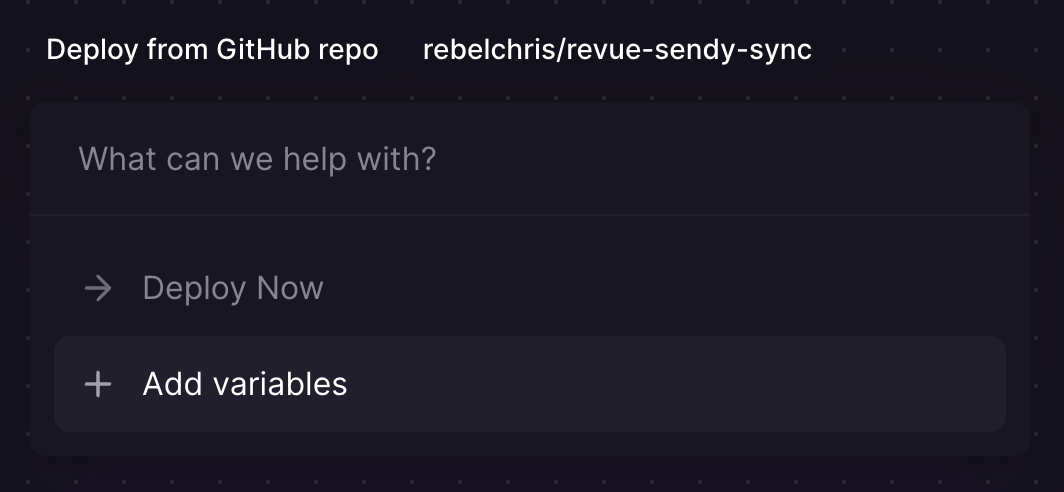
Clicking either option will start your project, and you will be able to add the variables.
Add all the ones you have in your .env file locally.
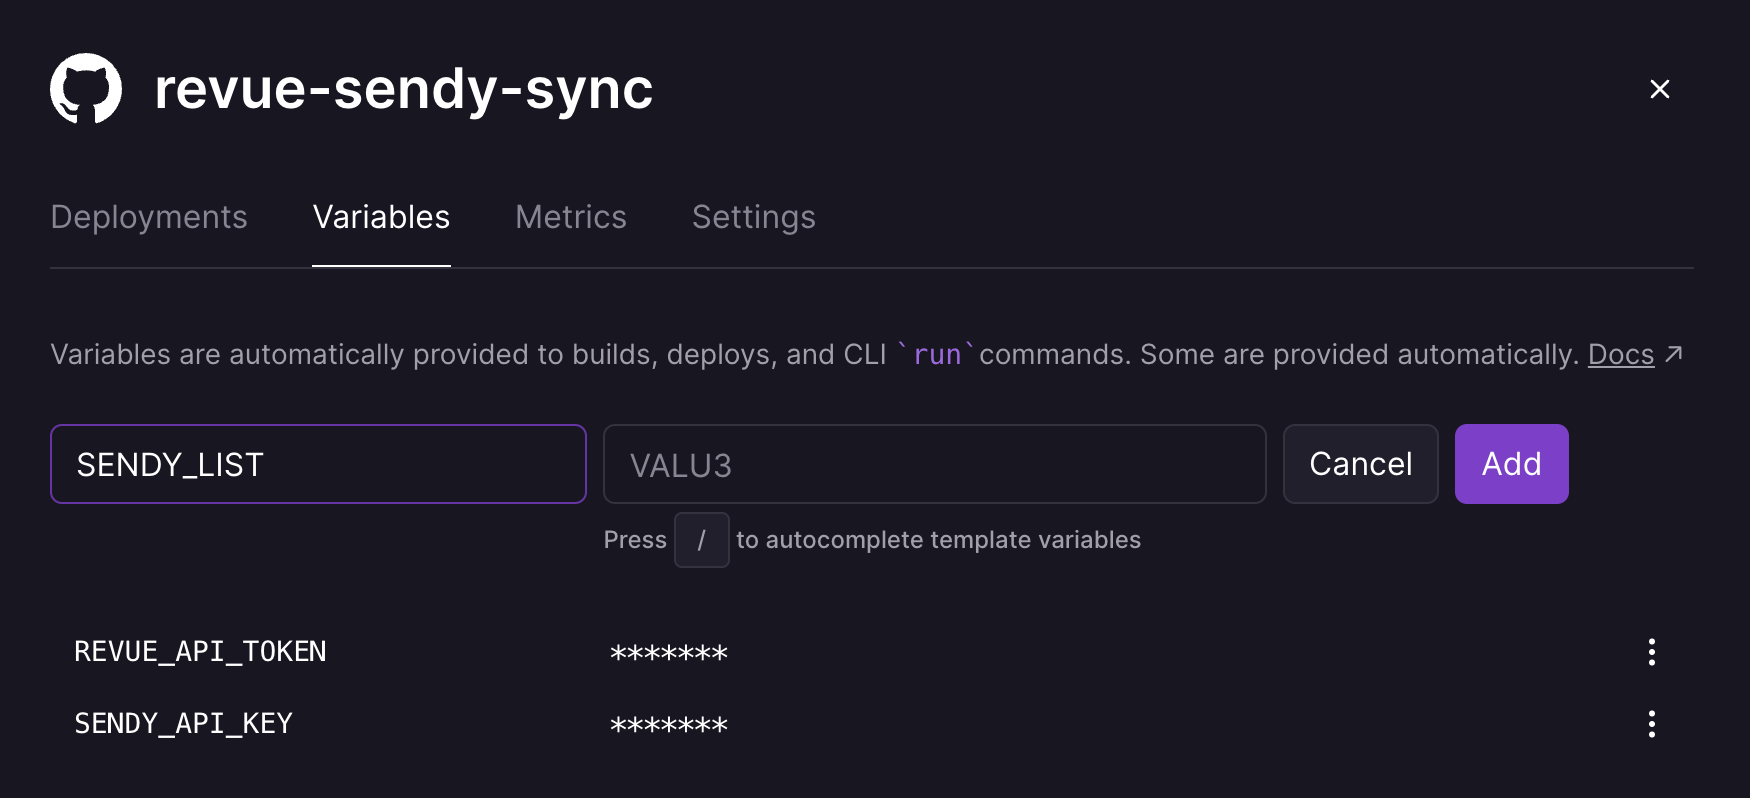
Once you save the variables, it will automatically redeploy your app.
Once deployed, you can open up the logs and see what's happening.
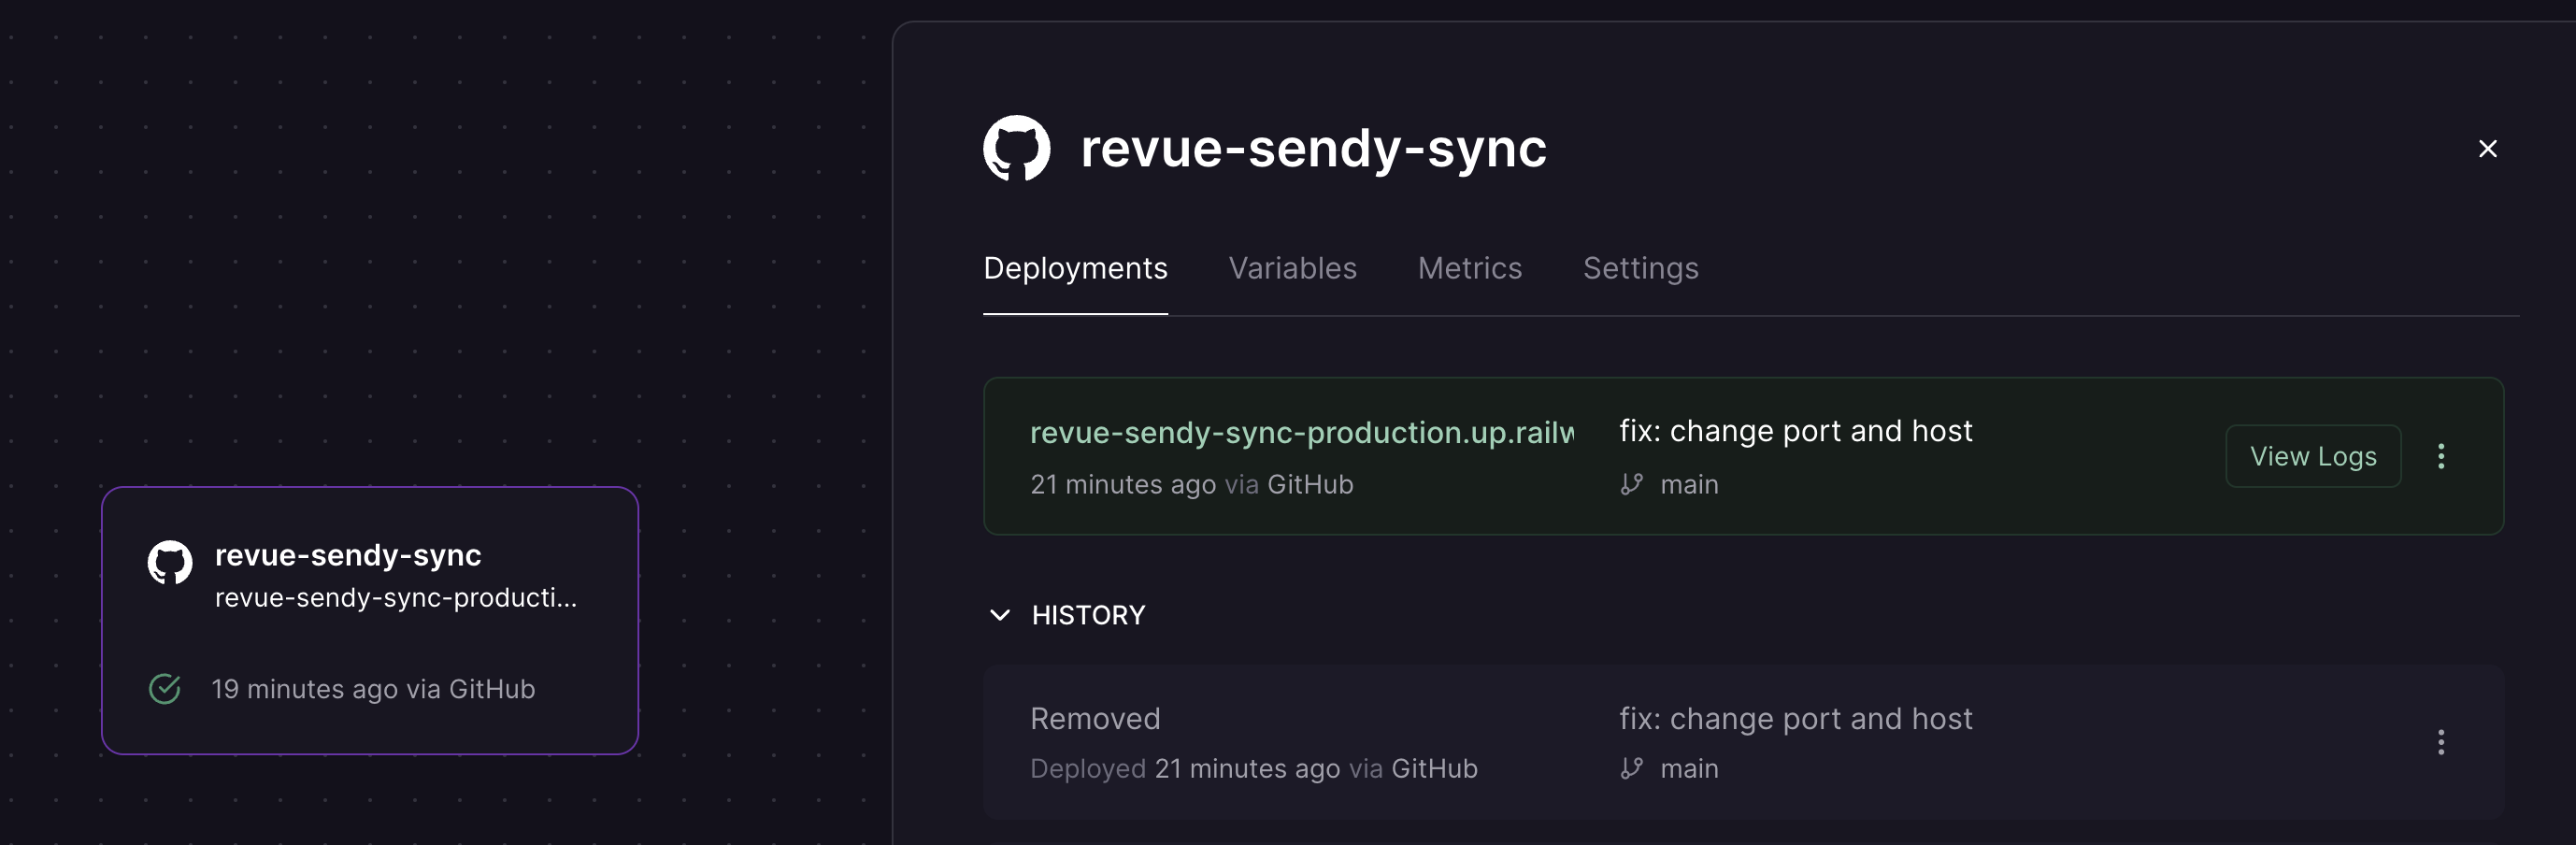
The logs should say something like this:
recurring script started
{"level":30,"time":1655616707625,"pid":1,"hostname":"railway","msg":"Server listening at http://127.0.0.1:3000";}
However, this causes a little bit of an issue.
Railway creates a unique port for each project and listens to address 0.0.0.0.
Let's head back to our app and modify the Fastify server.
fastify.listen(
  { port: process.env.PORT || 3000, host: '0.0.0.0' },
  function (err, address) {
    if (err) {
      fastify.log.error(err);
      process.exit(1);
    }
  }
);
With this piece of code, we always take the port that Railway provides.
Once you commit and push the code, it will automatically start a new deployment.
However, the default railway app doesn't come with a domain, so we should quickly set one up.
Head over to Settings > Domains and add a Railway domain.
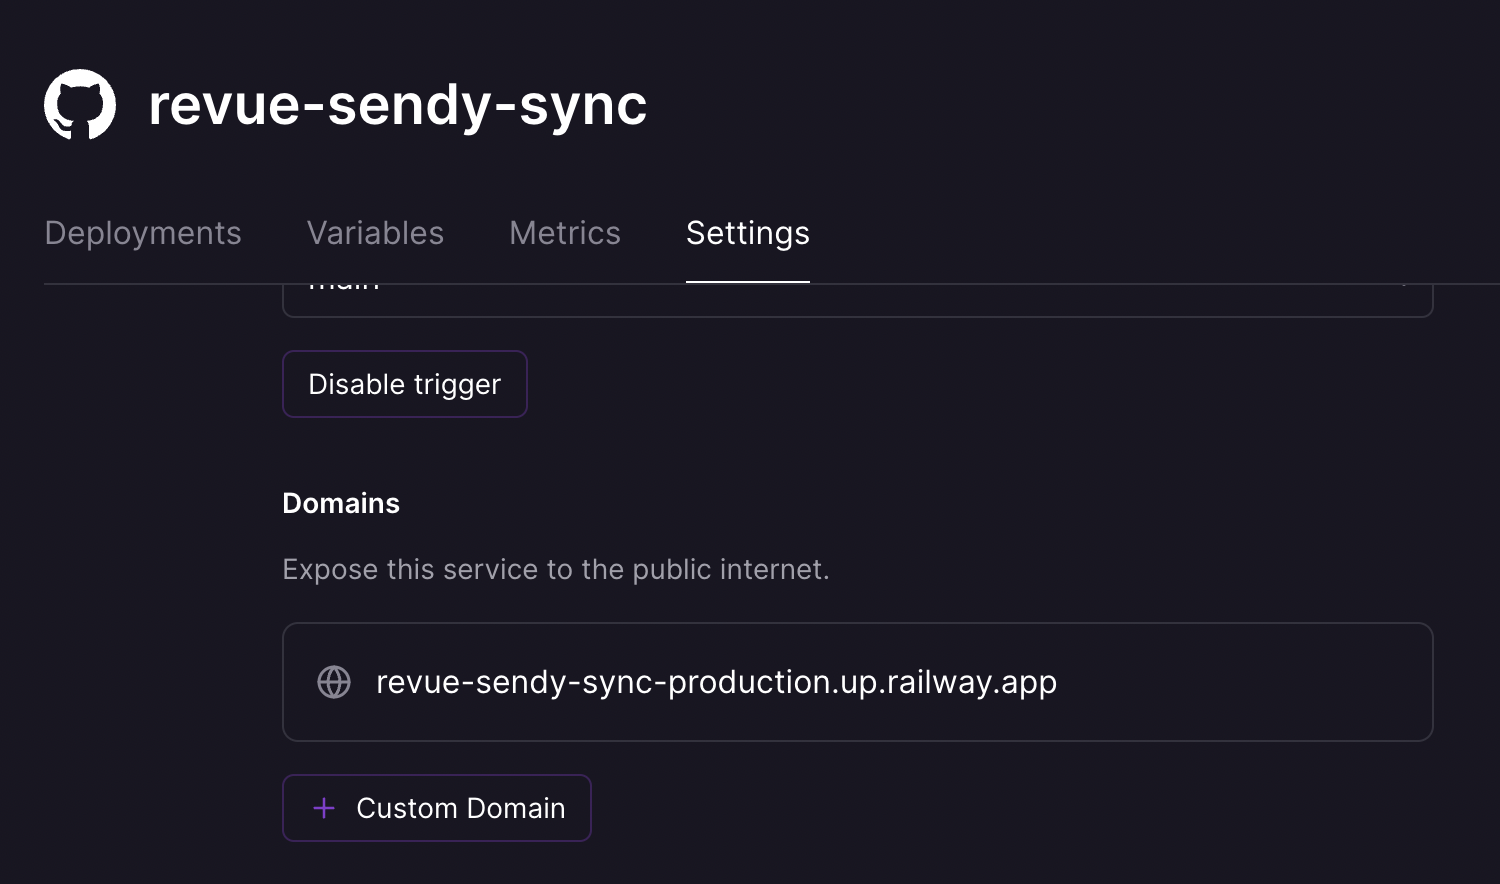
Now we can also test the webhook and head over to the logs of this new deployment. You should see a random port now.
I then opened my API platform (Insomnia) and tested the webhook endpoint.
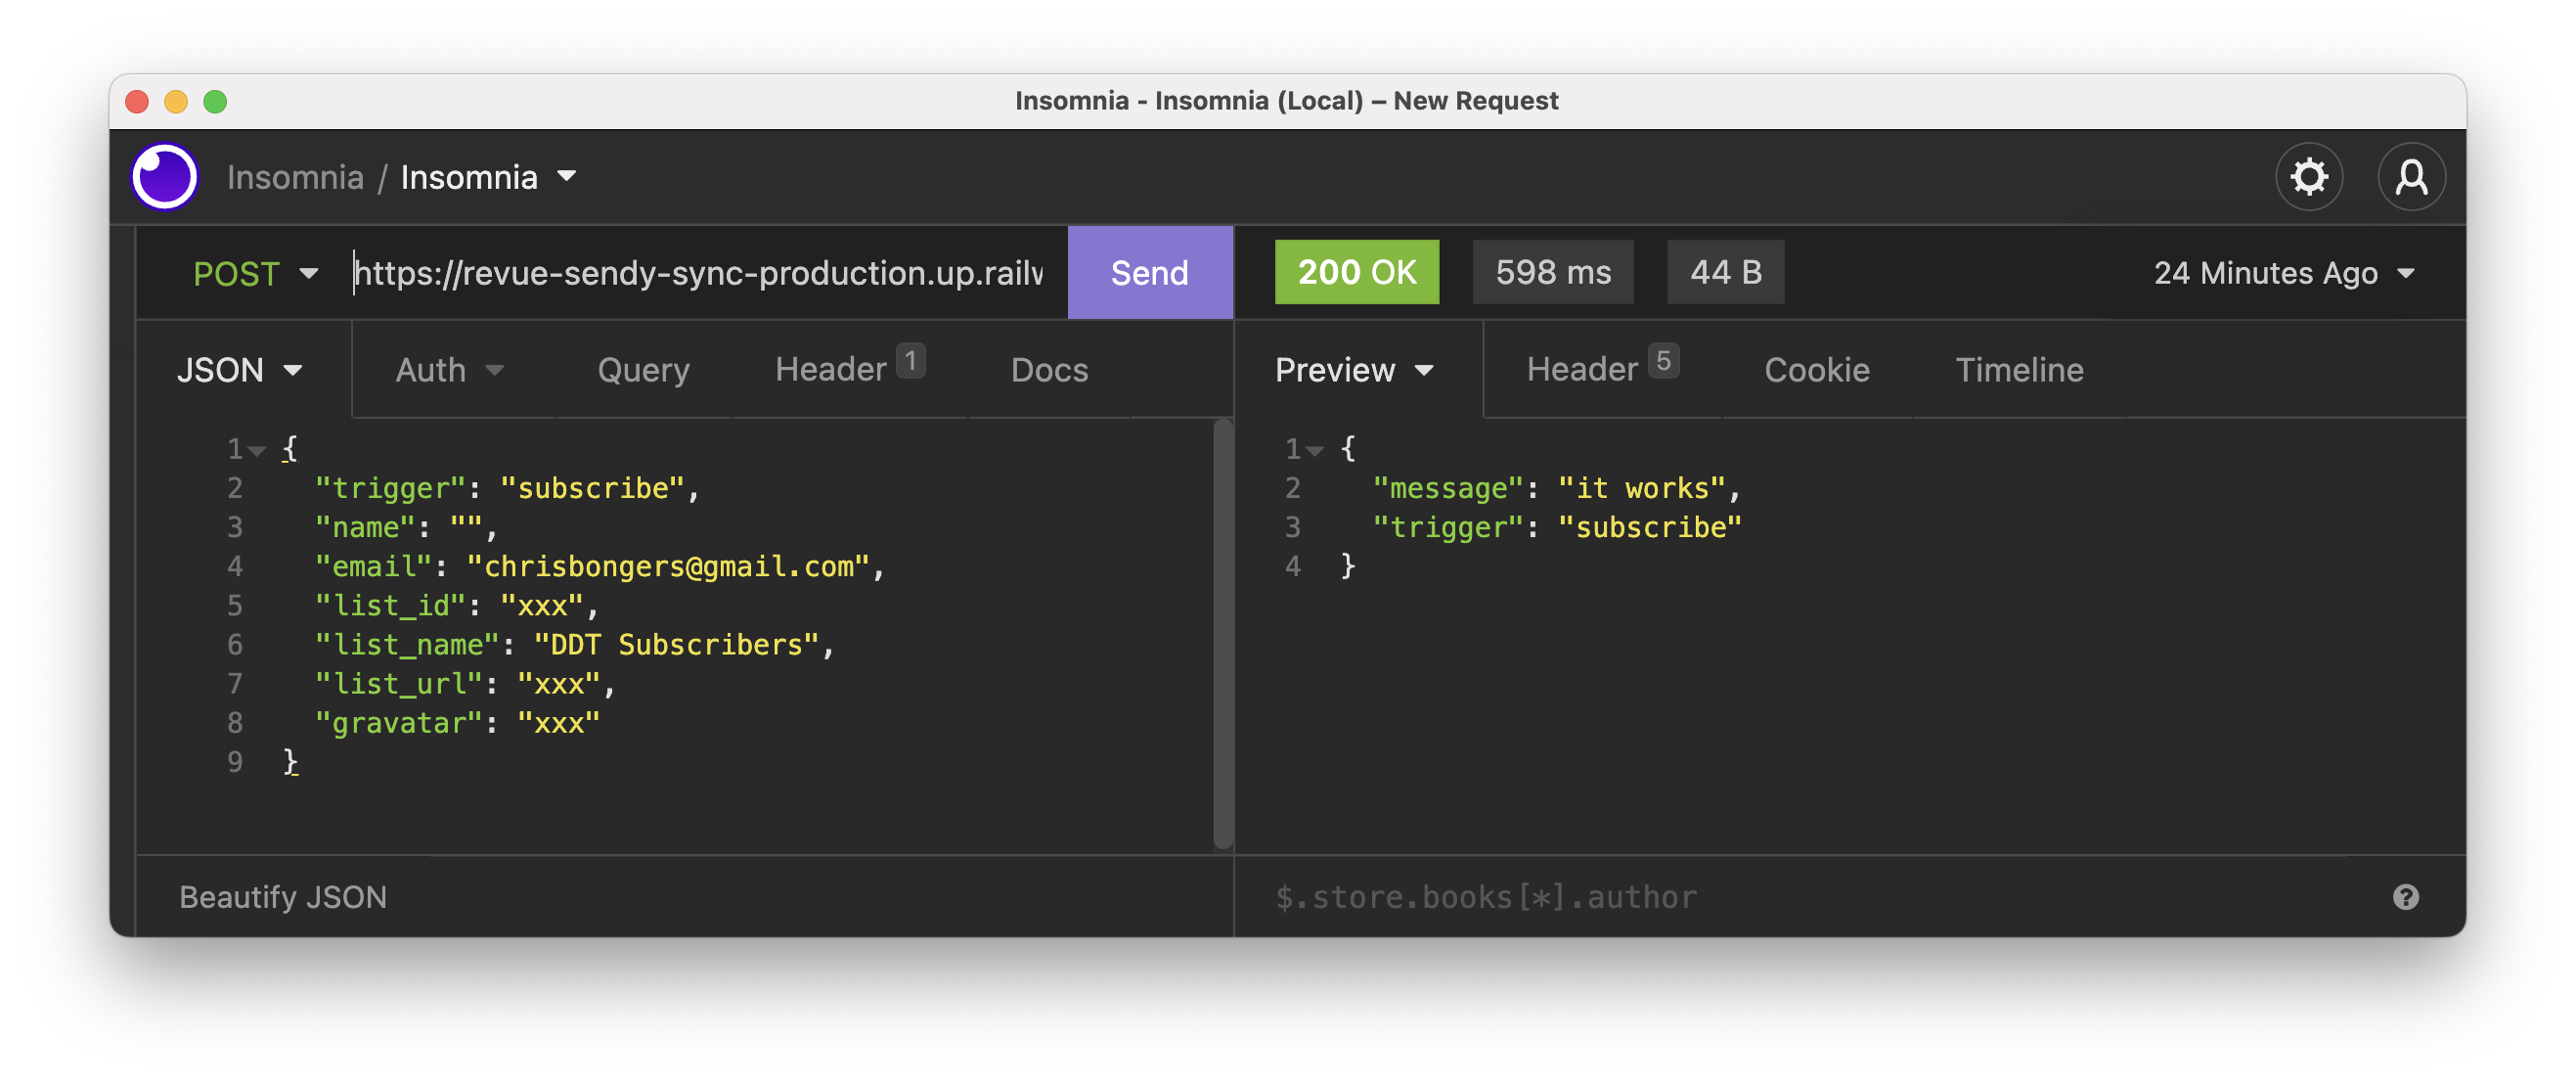
They work! Excellent, we are all set from that side.
Recurring script
Now that we have everything set up, you might have noticed we don't have the main script executed multiple times.
We want this to run every x time. I think in my case, once a day.
To achieve this, I'll add node-cron to do the magic for us.
Then we can add a cron command like this:
cron.schedule('* * * * *', () => {
  console.log('running a task every minute');
});
If you start your server, you should start seeing messages every minute.
However, I want it to run every night at 2 AM, so I set up a single command like this.
cron.schedule('0 2 * * *', () => {
  // our command
});
In this command, we'll put everything currently in our IIFE.
And with that setup, we are ready to go!
You can find the completed code on GitHub.
Finishing up
Now that we have our code finished, we need to do a couple of things.
- Sync our current users
It's essential to sync our users once-off, or else we might perform some weird actions. In my case, I exported everyone from Sendy and manually imported them in Revue once-off.
- Change the webhooks to the new URL
Seeing our webhook is not set, we should change it to post to our Railway hosted app: https://{your_app}.up.railway.app/sendy-webhook.
Thank you for reading, and let's connect!
Thank you for reading my blog. Feel free to subscribe to my email newsletter and connect on Facebook or Twitter



