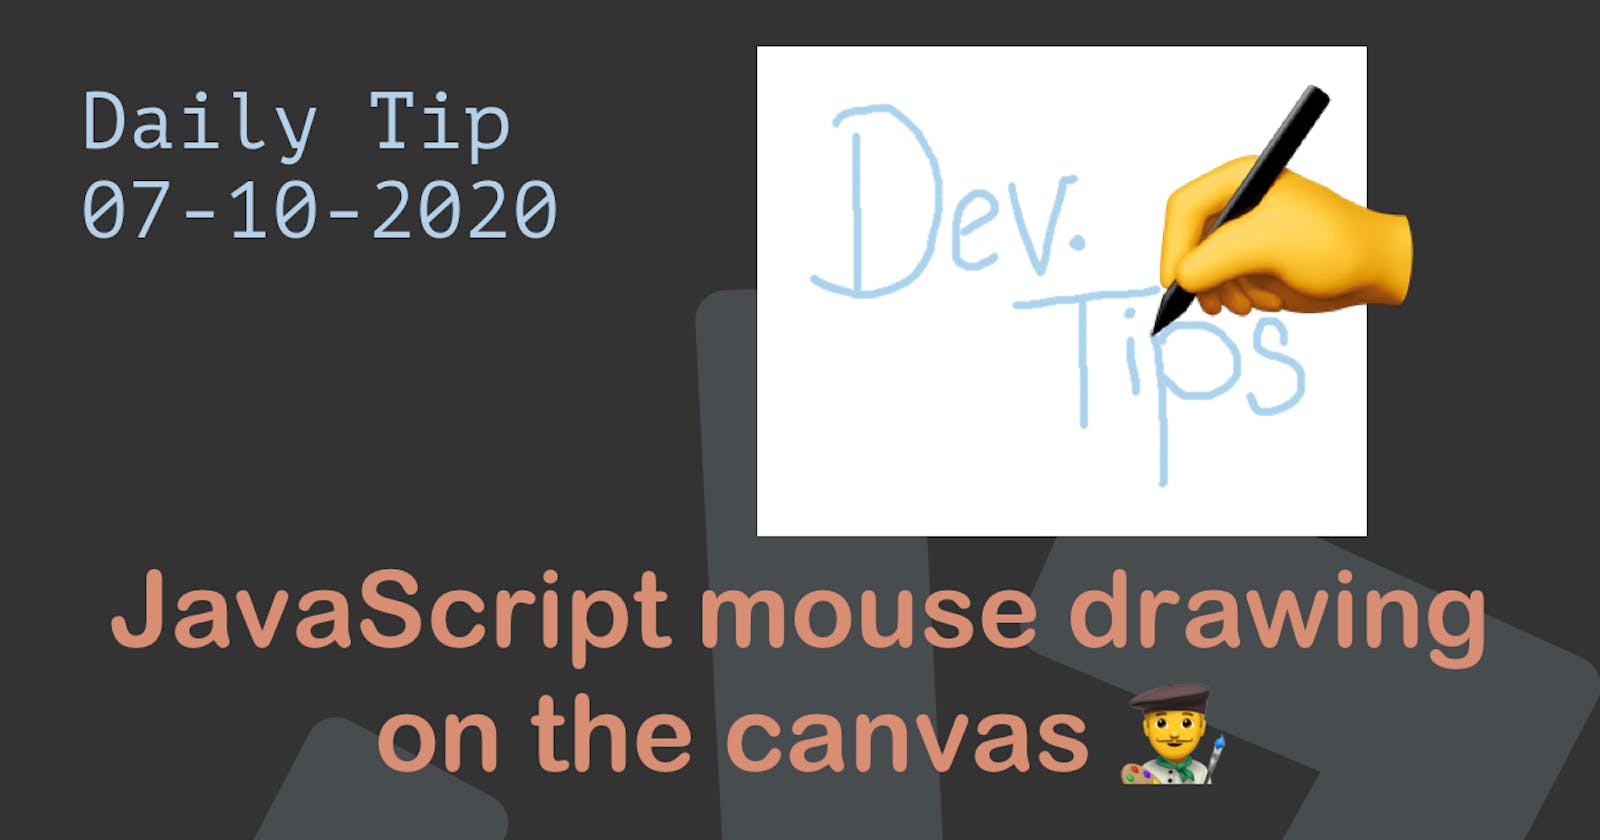
Today I wanted to continue canvas explorations by checking out how to draw on the canvas with our mouse.
It turns out it's actually fairly simple and easy to implement!
We'll be building this cool drawing app. (Have a play around!)
HTML Structure
The HTML could not be simpler, all we need is one big canvas.
<canvas id="canvas"></canvas>
Styling our app
As for our styling, all we need to do is remove our default margin, create a cool emoji cursor, and set the width/height to be the same size as the viewport.
* {
  margin: 0;
  padding: 0;
cursor:url("data:image/svg+xml;utf8,<svg xmlns='http://www.w3.org/2000/svg'  width='40' height='48' viewport='0 0 100 100' style='fill:black;font-size:24px;'><text y='50%'>✍️</text></svg>") 16 0,auto;
}
canvas {
  width: 100vw;
  height: 100vh;
}
Drawing on canvas with JavaScript mouse
Now on to the fun part, the JavaScript to connect our mouse movements to the canvas.
Let's start by defining our variables.
const canvas = document.getElementById("canvas");
const ctx = canvas.getContext("2d");
let coord = { x: 0, y: 0 };
We need the canvas, and retrieve it based on it's ID. Then we get the context (where we actually draw on)
Then we define our base coordinates.
Now let's attach listeners for:
- mousedown (start registering our drawing
- mouseup (stop the drawing)
- resize (resize the canvas)
document.addEventListener("mousedown", start);
document.addEventListener("mouseup", stop);
window.addEventListener("resize", resize);
Let's start with the resize function, this function will resize the canvas based on our viewport. It will make the canvas 100% or the width and height.
We also call this function right away.
function resize() {
  ctx.canvas.width = window.innerWidth;
  ctx.canvas.height = window.innerHeight;
}

resize();
Let's define our mousedown (start) function.
function start(event) {
  document.addEventListener("mousemove", draw);
  reposition(event);
}
This function will invoke the listener for mousemove, so we don't have to keep listening to it. Then we call our reposition function, which will register our mouse position.
The reposition function will look like this:
function reposition(event) {
  coord.x = event.clientX - canvas.offsetLeft;
  coord.y = event.clientY - canvas.offsetTop;
}
On to the stop function.
function stop() {
  document.removeEventListener("mousemove", draw);
}
We only need to stop listening to our register mousemove function.
The last function we will make is the draw. This actually will create lines on the canvas.
function draw(event) {
  ctx.beginPath();
  ctx.lineWidth = 5;
  ctx.lineCap = "round";
  ctx.strokeStyle = "#ACD3ED";
  ctx.moveTo(coord.x, coord.y);
  reposition(event);
  ctx.lineTo(coord.x, coord.y);
  ctx.stroke();
}
In order:
- We begin a new path.
- We set the line width to 5 pixels.
- We change the line endings to round.
- We set the color to blue.
- We change our position to the initial position and move the canvas point to the moved position.
- Then we draw a line between these two points.
- Last we call the stroke to colour it.
That's it. We can now draw lines on the canvas.
If you want to read more about canvas, check out these articles.
- Getting started with the HTML canvas
- Vanilla JavaScript save canvas as an image
- Vanilla JavaScript colouring our canvas elements 🌈
- Vanilla JavaScript images in canvas
- Vanilla JavaScript canvas images to black and white
- Checkboxify your images with JavaScript ✅
Thank you for reading, and let's connect!
Thank you for reading my blog. Feel free to subscribe to my email newsletter and connect on Facebook or Twitter

