
Installing Storybook

Now that we have our first introduction to Storybook, let's see how we can install it.
It's important to note that Storybook doesn't generate a new project, so you should always add it to an existing project.
In my case, I'll be testing it out on my React start project.
Installing Storybook
As with many packages, we first have to install the dependencies, and for Storybook, it's as simple as running the following command.
npx storybook init
This one command will install everything you need and set up some example stories.
Once done, you'll see a new stories folder pop-up in your project. This has some sample components to showcase how it will work.
Let's spool up Storybook to see how it looks.
npm run storybook
Now visit the URL it opened up on. This can vary based on your system. Once opened, you should see the following screen.
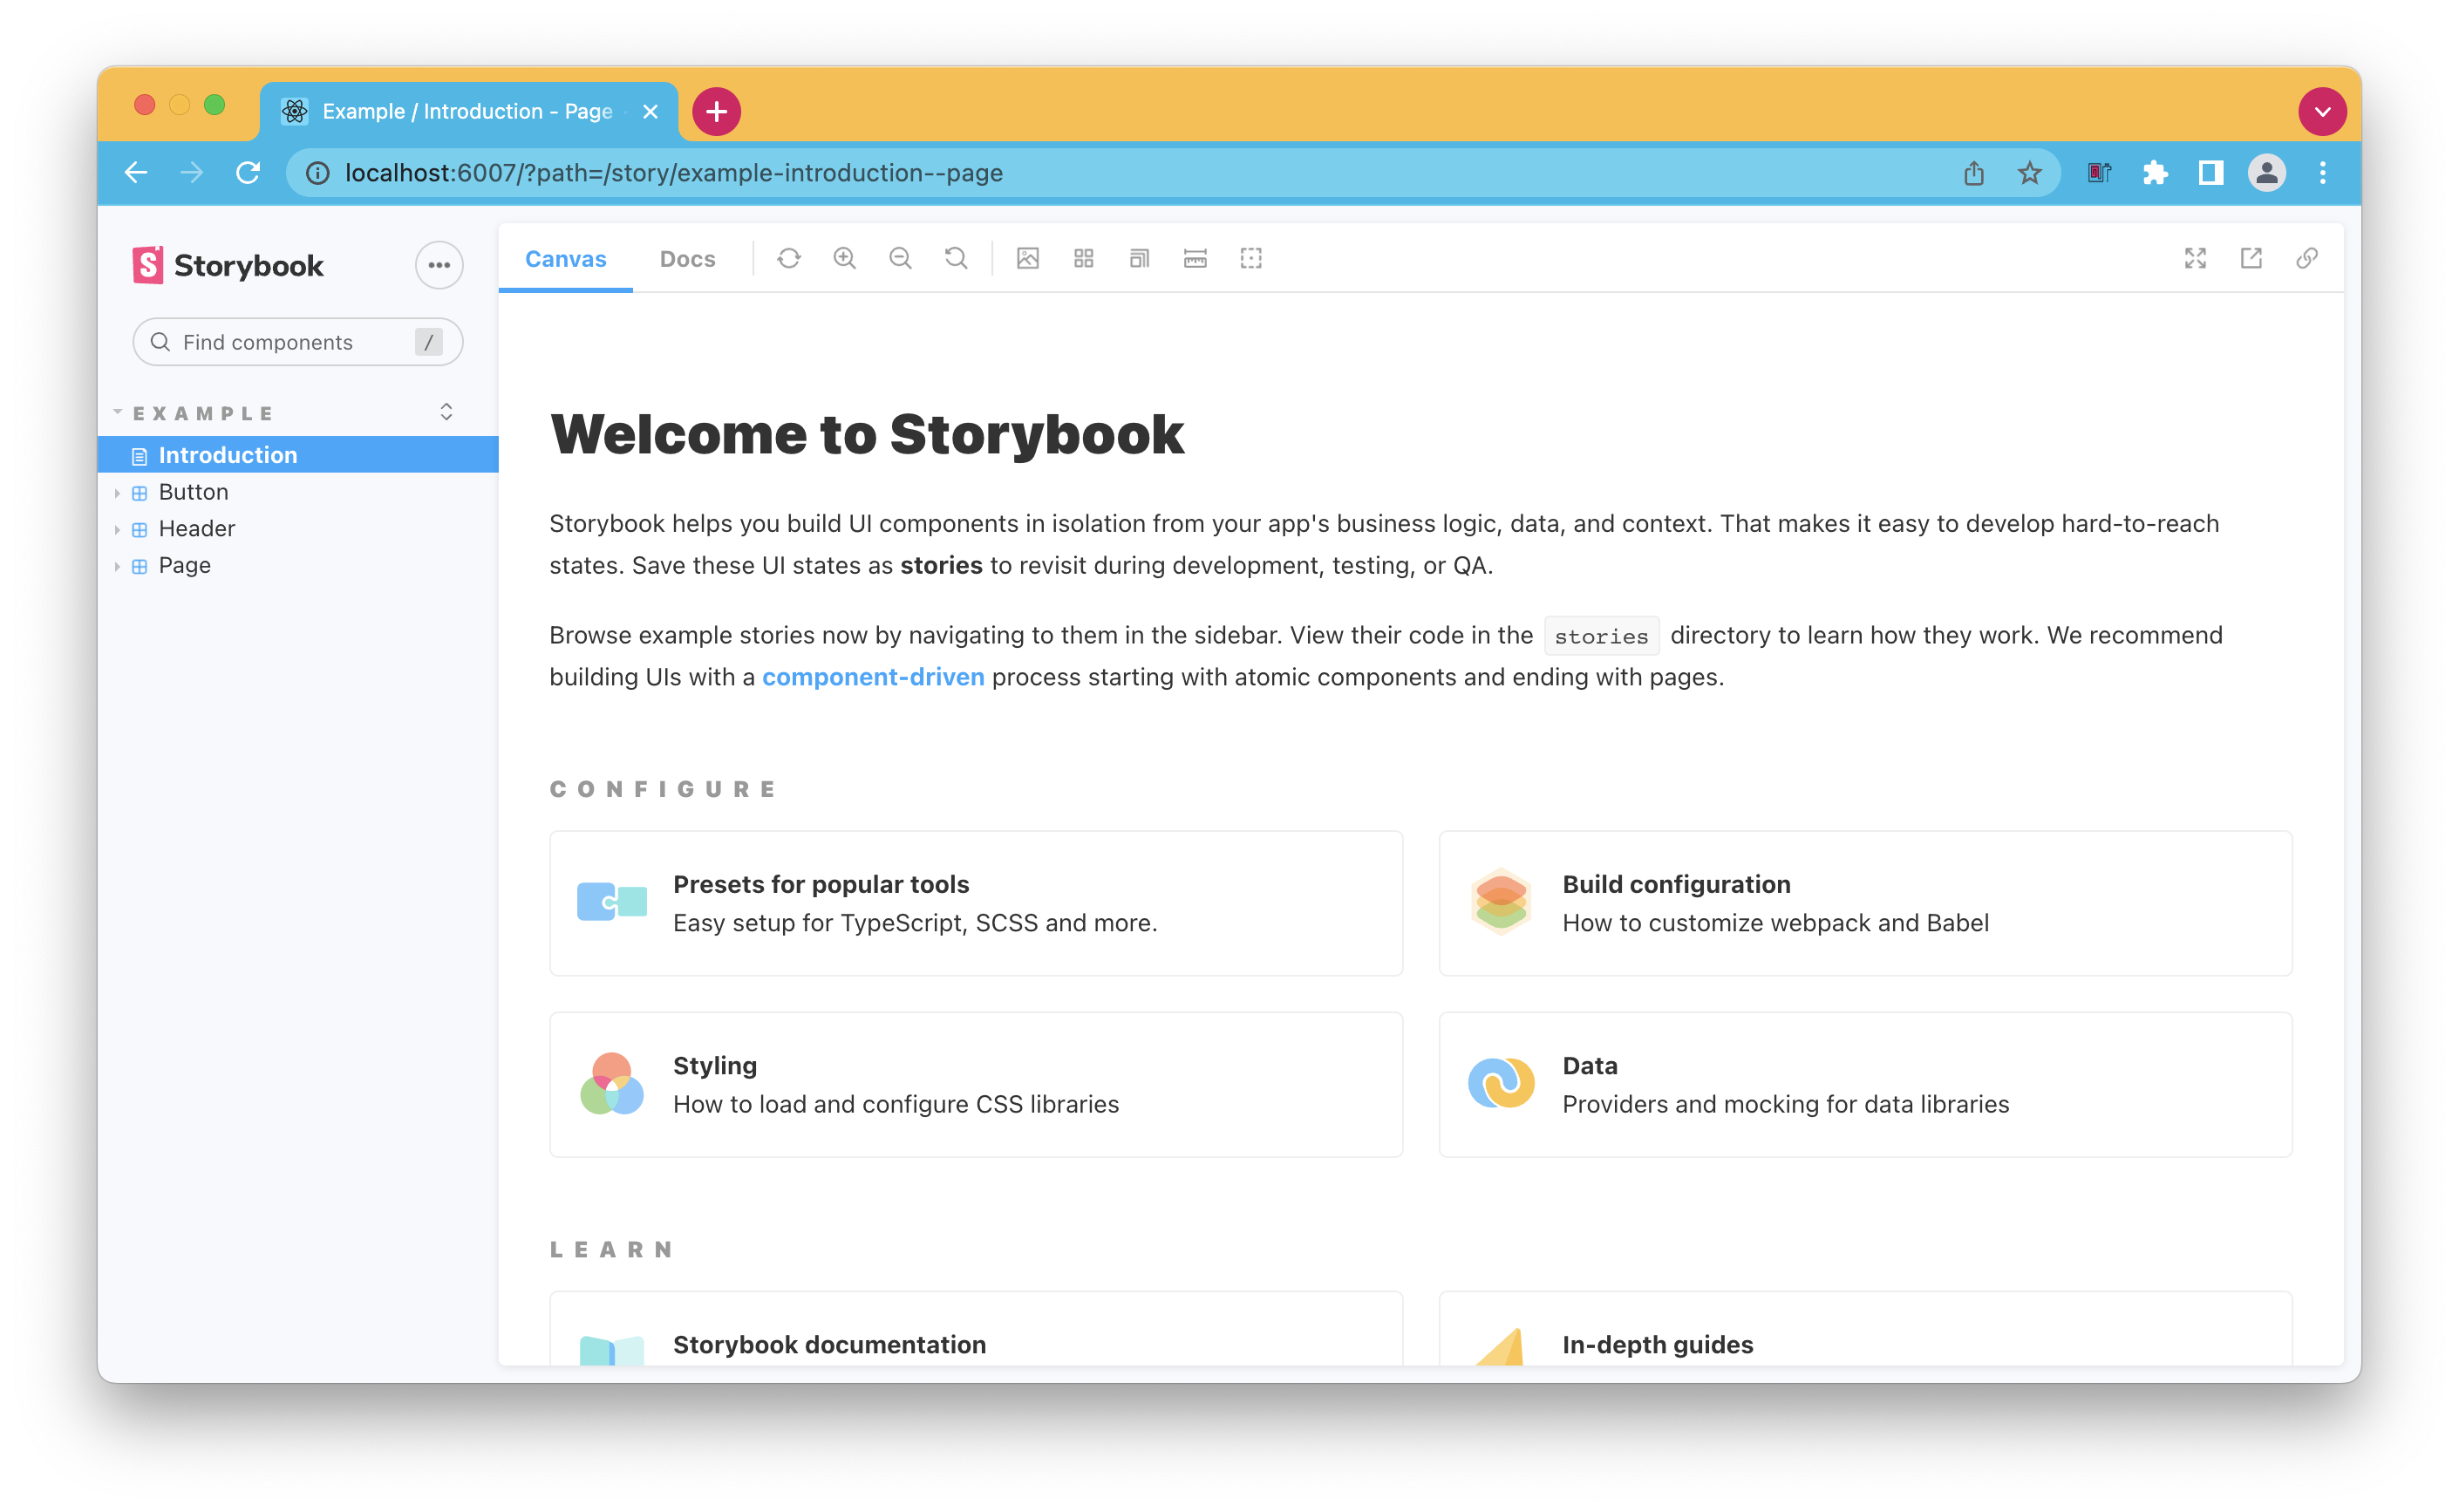
As you can see, it has an introduction page, which is just a markdown page you can set up in any way, you like. And it shows some basic components. Storybook creates these to give you samples on how to set them up.
Before creating our component, let's take a look at some of the options in the UI.
If we open up a button component, we see many more options.
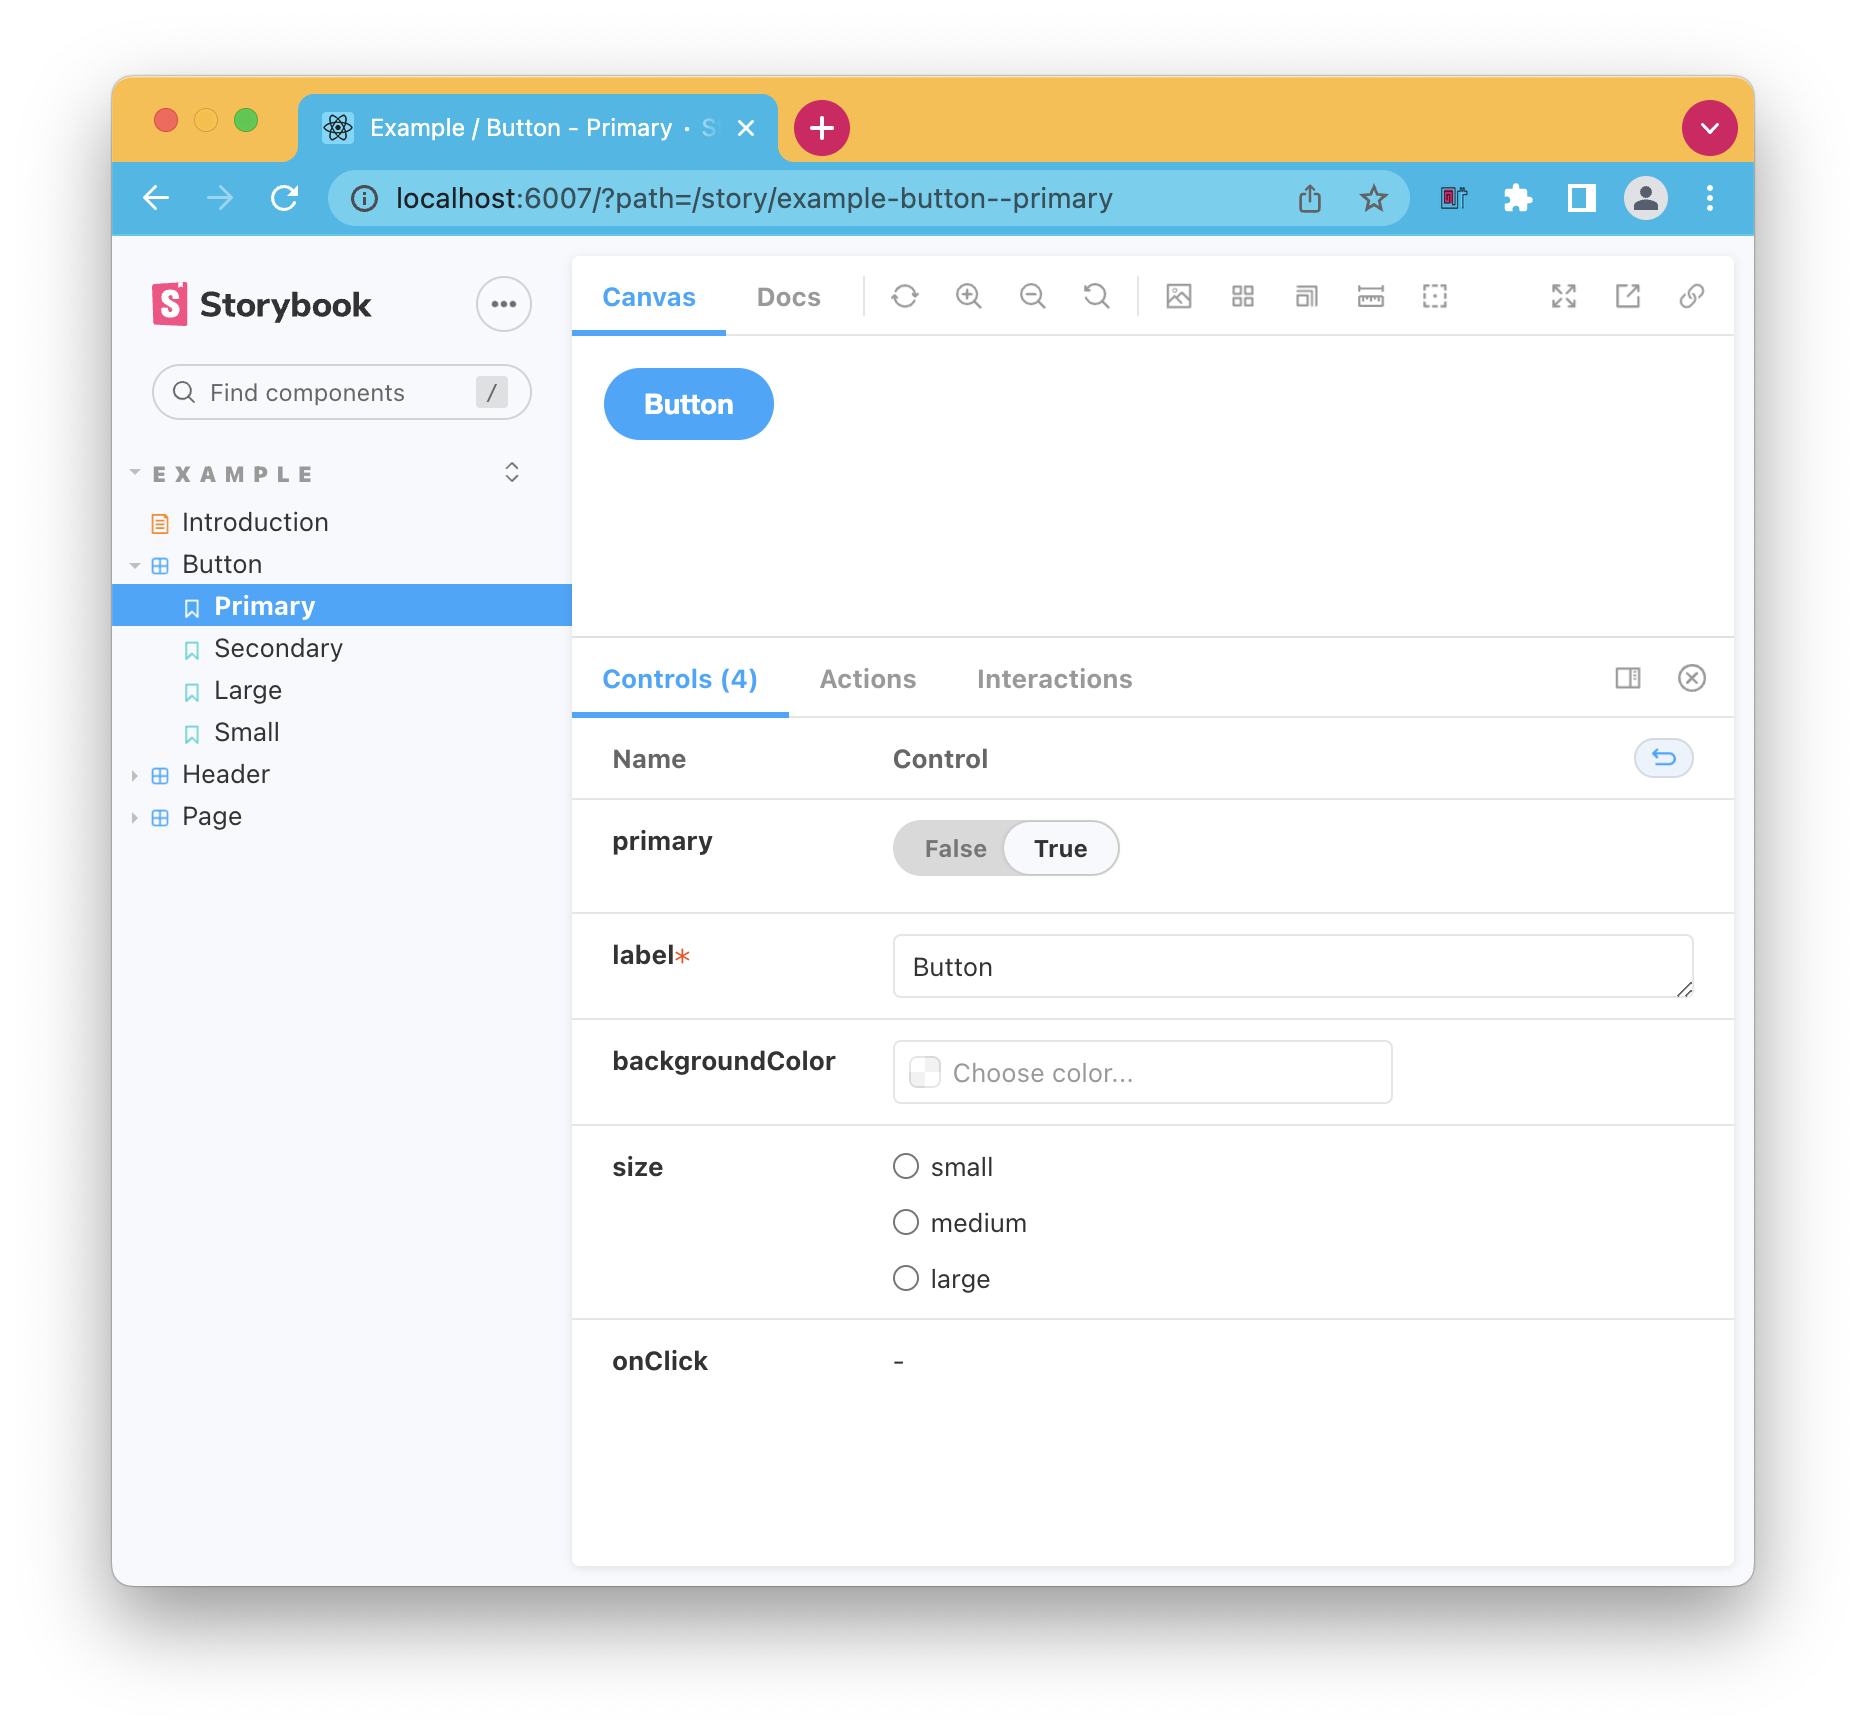
At the top, we see all the generic window options. We can use these to interact with the broad window (and not particularly the component).
The options here are:
- Refresh component
- Zooming
- Viewport renders
- Layout options you can define (more on this later)
- And to render outside storybook
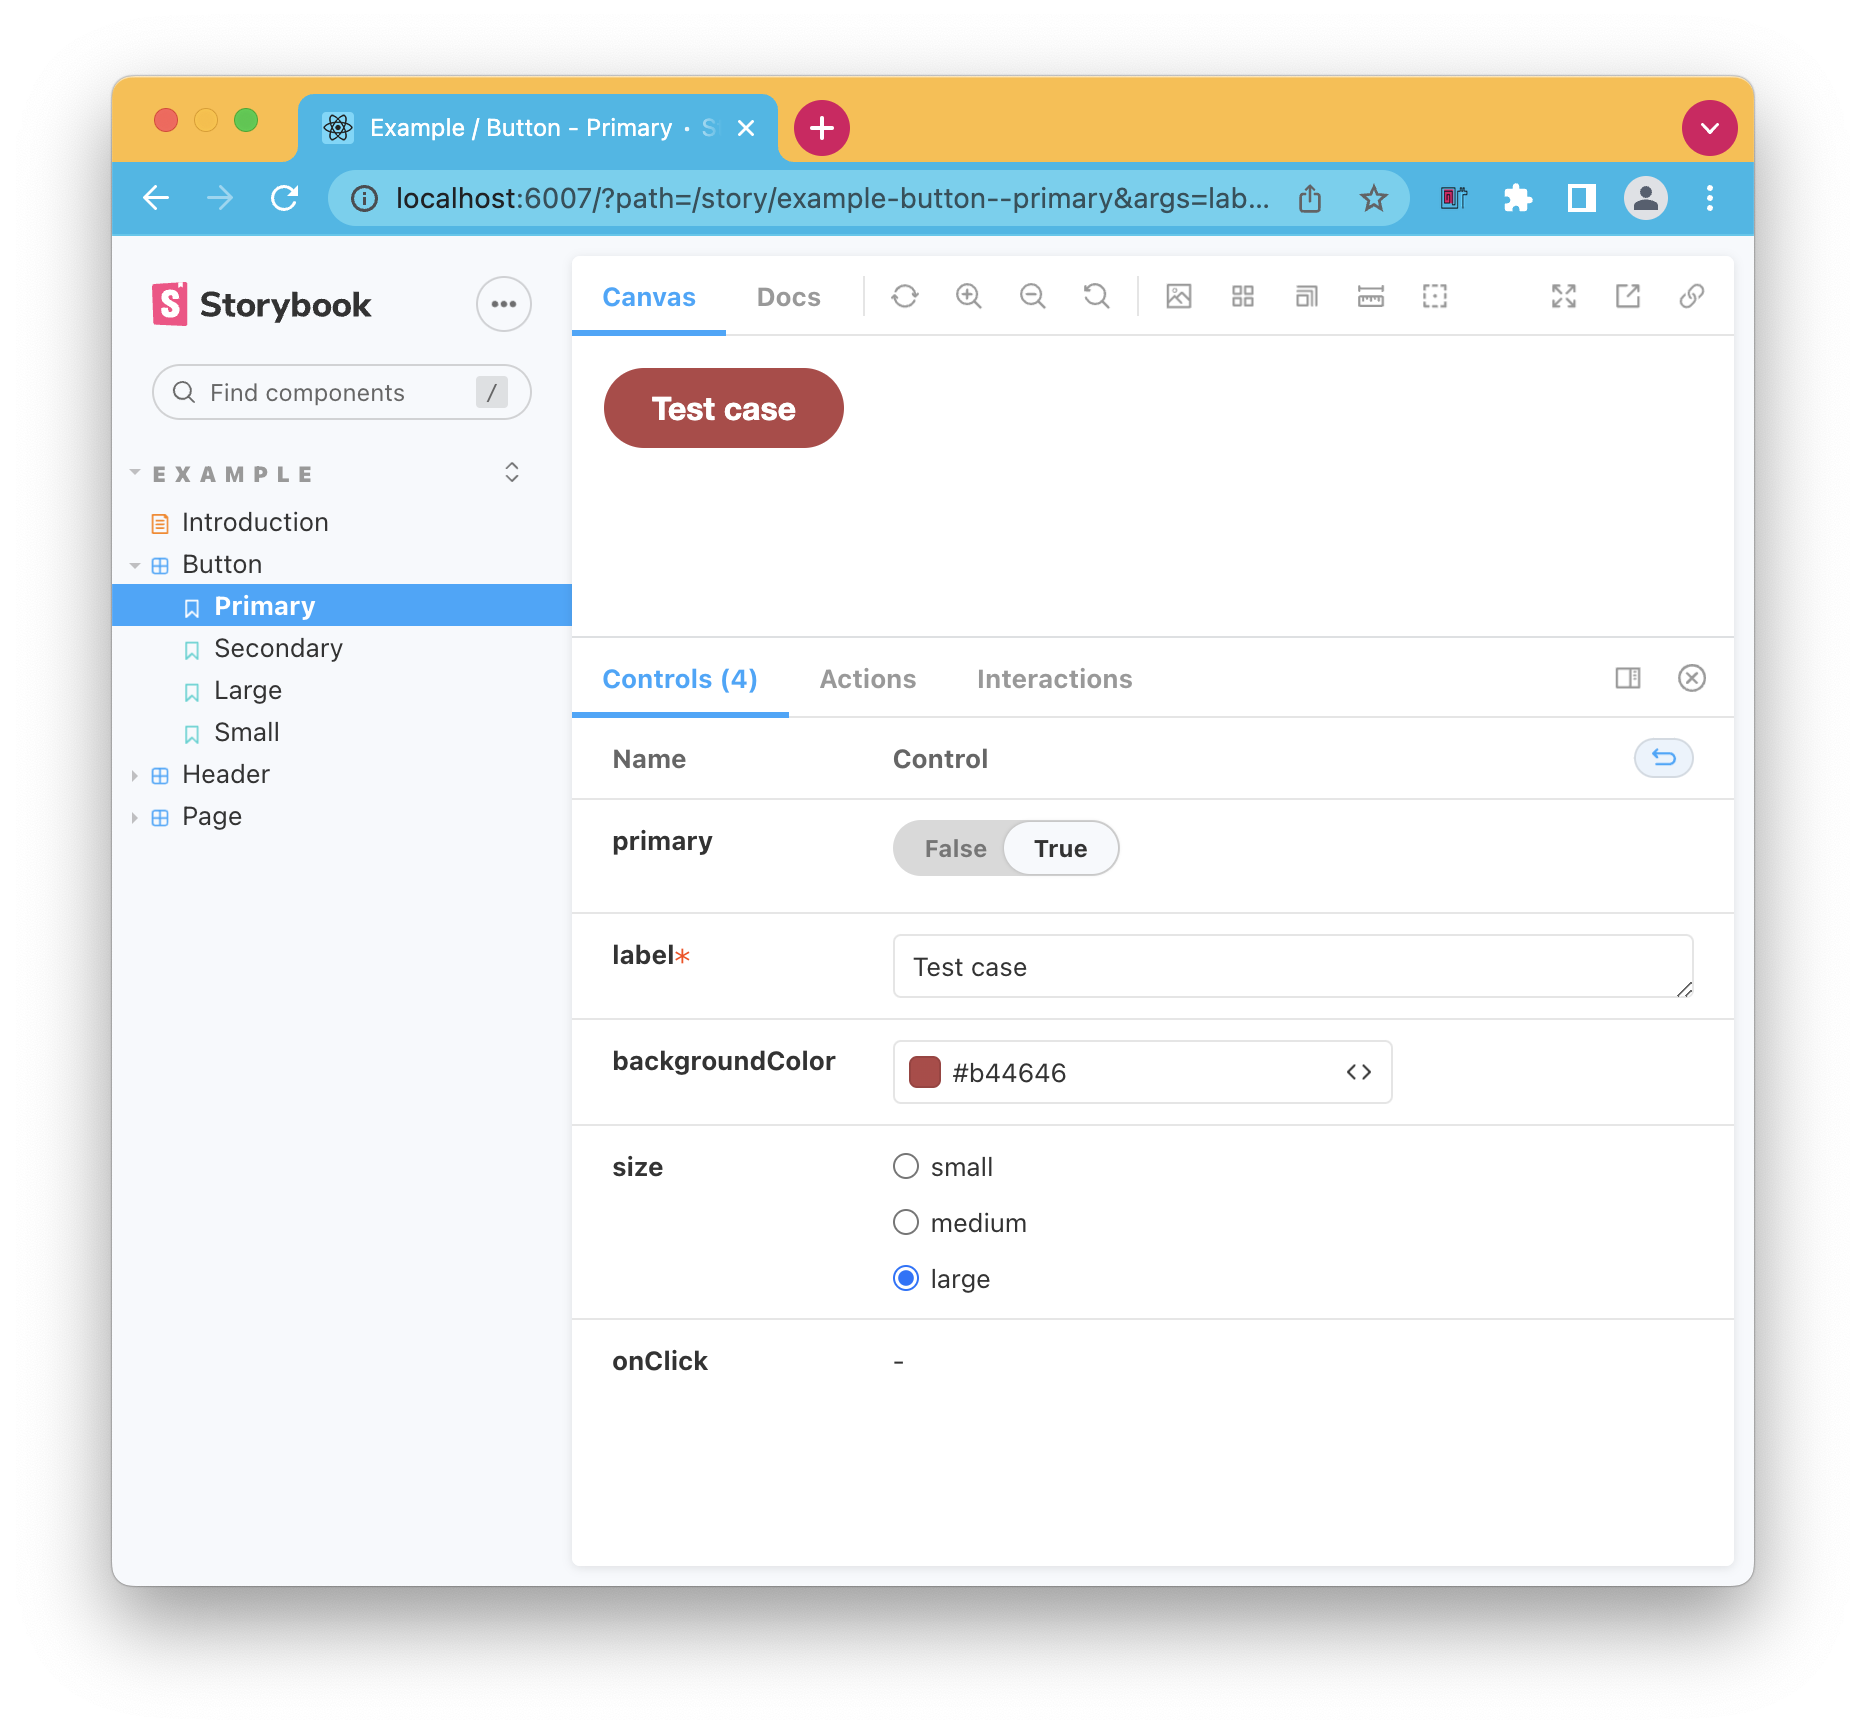
Then at the bottom of your component, we get a section for Controls. These are the props for your component. You define these when setting up the story for this component, and in the case of the button, you can see we have quite a few.
You can play around by changing those.
Adding a story
This is all good and well, but none of these components are our own. So you might be wondering, how do I add my components?
As we stand now, we only have our App.js component that exists in the app.
To add a story, we can add an App.stories.jsx file in the same directory as the App.js lives in.
We can use the following format to render our App.
import React from 'react';
import App from './App';

export default {
  title: 'Example/App',
  component: App,
  parameters: {
    layout: 'fullscreen',
  },
};

export const Default = <App />;
This will output the App as it is. No options are available, so there is no need to set up.
If we refresh our page, we see the App component rendered in the sidebar, which should output nicely.
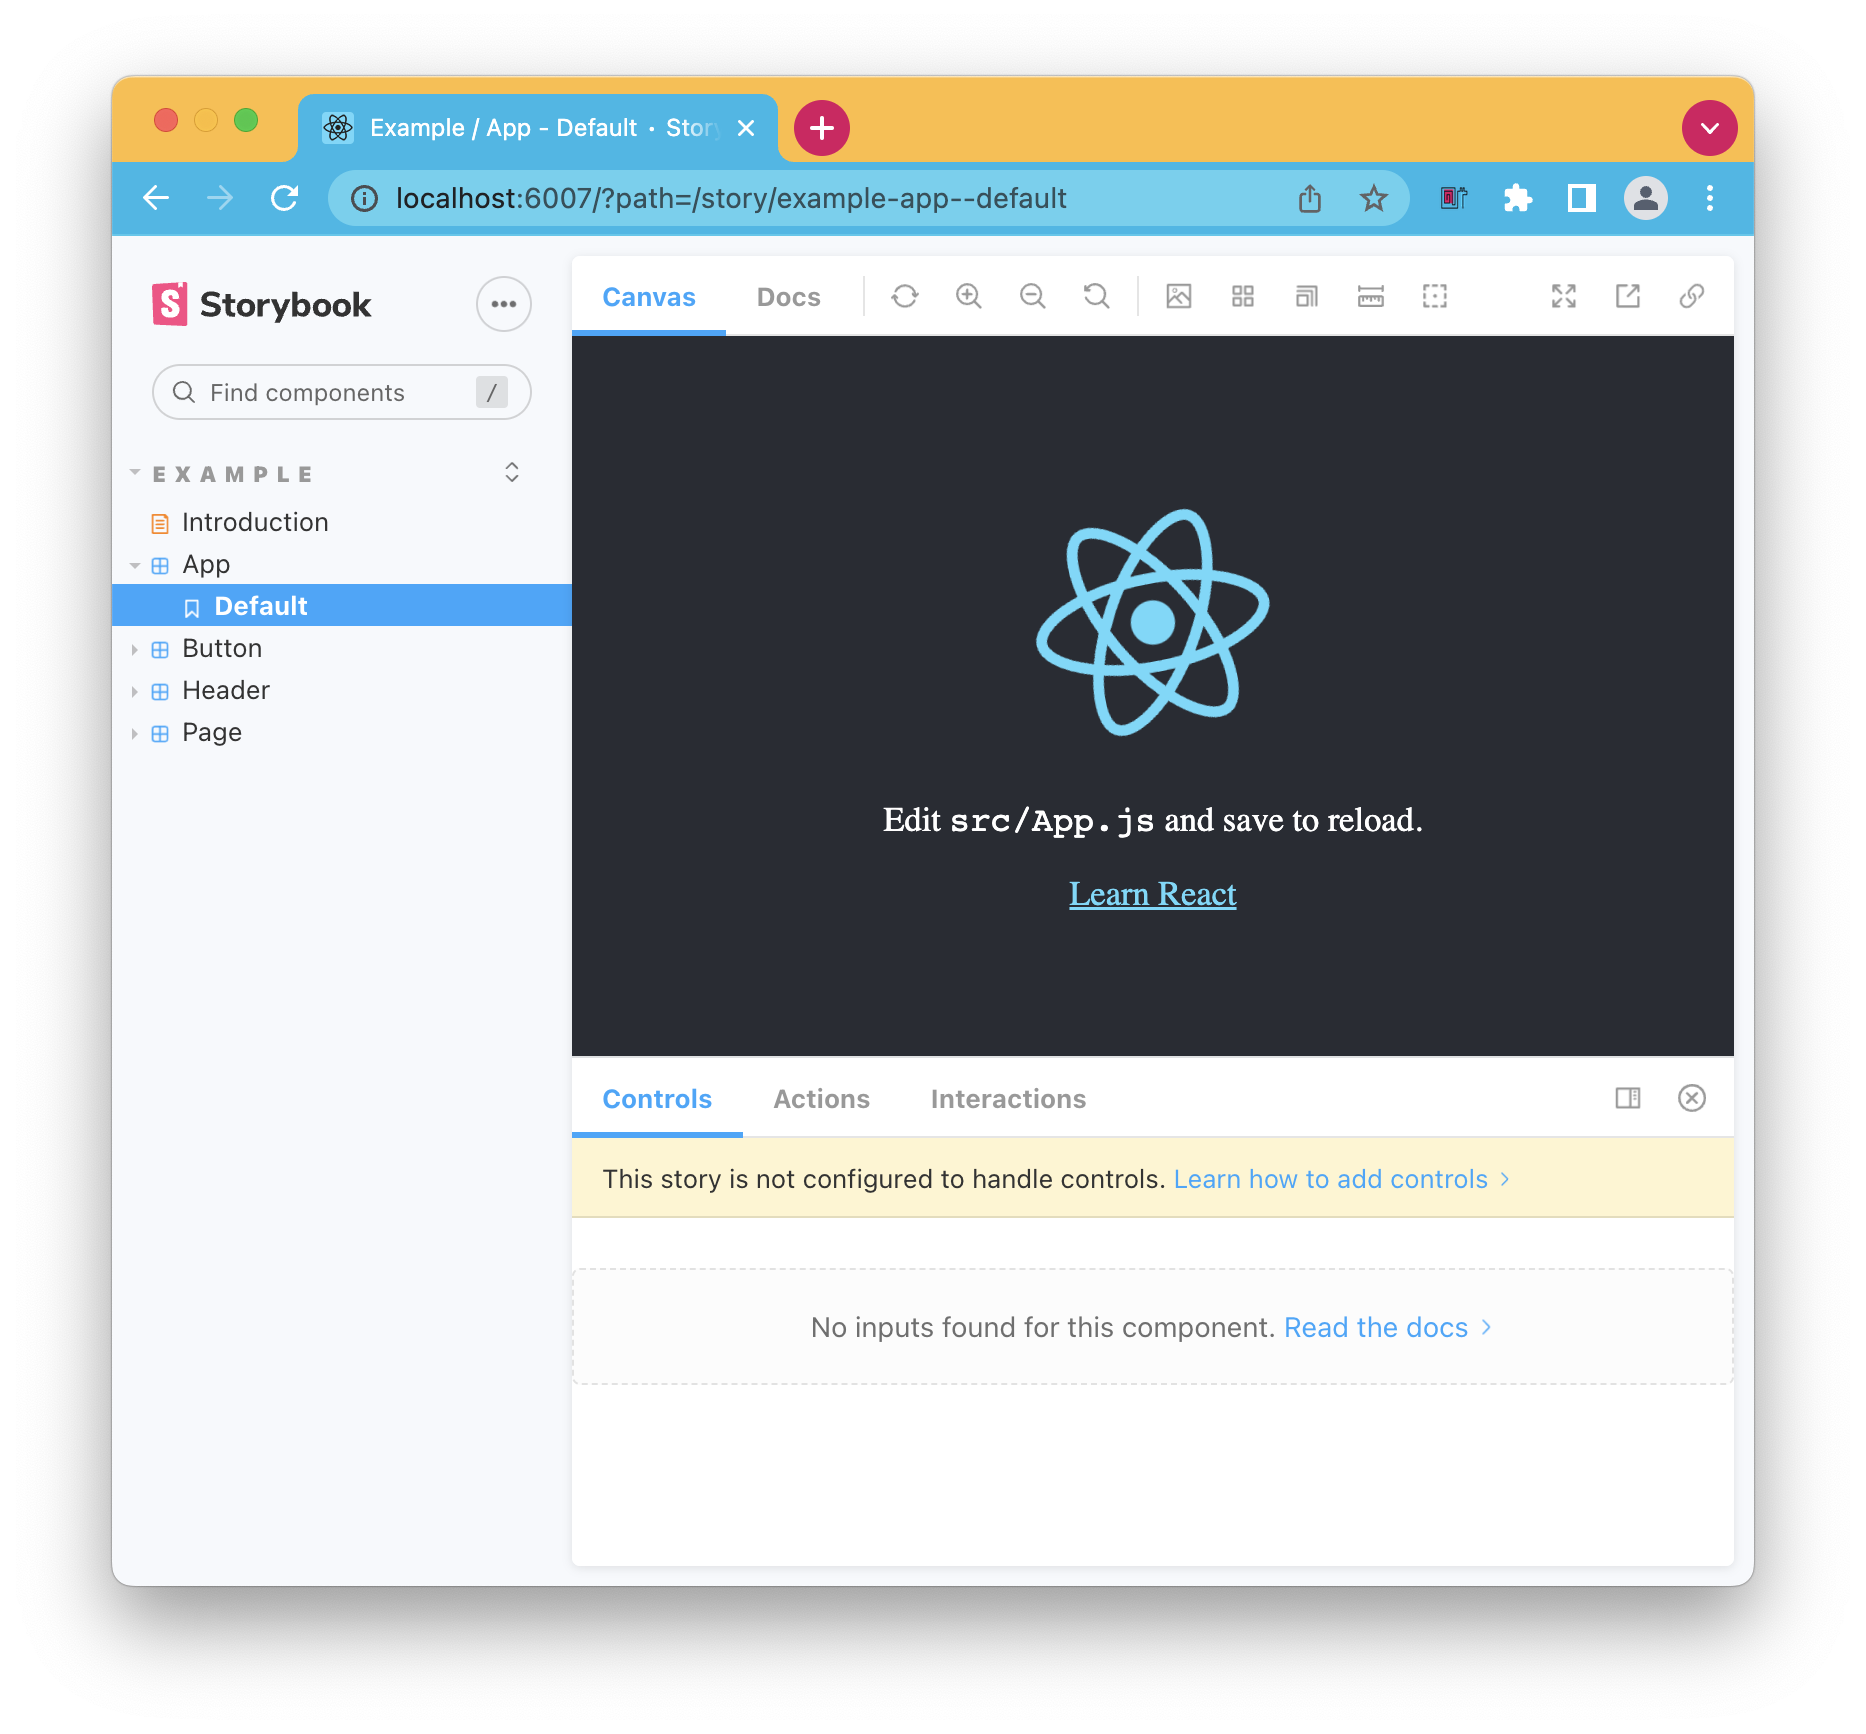
And there you go, we added our component to Storybook.
Thank you for reading, and let's connect!
Thank you for reading my blog. Feel free to subscribe to my email newsletter and connect on Facebook or Twitter
About the author
I'm a full-stack developer from South Africa 🇿🇦. I love writing about JavaScript, HTML and CSS.
Comments
Join the discussionNo comments yet. Be the first to comment.



