
Creating a reusable layout in Next.js
I'm a full-stack developer from South Africa 🇿🇦. I love writing about JavaScript, HTML and CSS.
Yesterday we added a menu to our Next.js application. However, this was hardcoded on one page.
Today we'll take a look at how we can introduce a layout component to have a shared layout for our menu on each page.
Creating the layout component
Create a file called layout.js in the components folder.
This file will act as the main layout. In our case, it will render the header and the children for each page.
import Header from './Header';

export default function Layout({children, menu}) {
  return (
    <>
      <Header menuItems={menu} />
      <main>{children}</main>
    </>
  );
}
The children are passed through our main page, the _app.js, and we will pass the menu variable, so we'll have a look at how that works next.
Retrieving the menu items
Before we go there, let's see how we can retrieve the menu items in one place instead of doing it per page.
For this, we need to open the _app.js file. Here we can add a function called getInitialProps.
This function can be used to retrieve the menu and eventually pass it to our layout.
import {getPrimaryMenu} from '../lib/api';

MyApp.getInitialProps = async () => {
  const menuItems = await getPrimaryMenu();
  return {menuItems};
};
Passing items to the layout component
Let's see how we can now make sure the layout is used everywhere and pass the menu items.
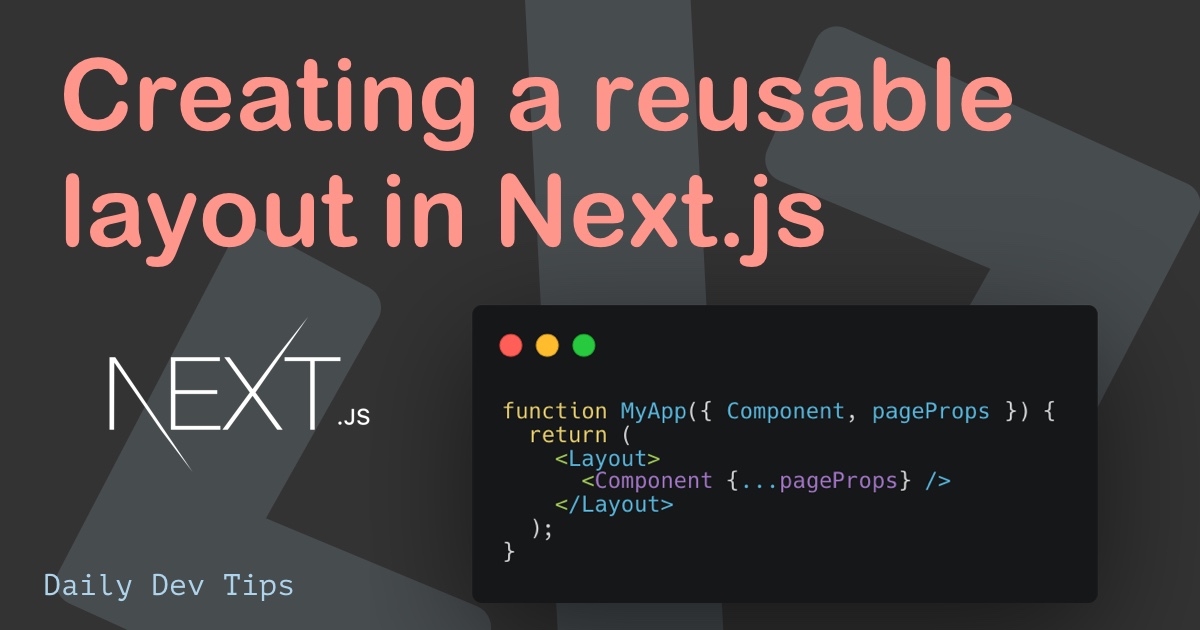
Let's first add the layout to our _app.js file.
import Layout from '../components/Layout';

function MyApp({Component, pageProps}) {
  return (
    <Layout>
      <Component {...pageProps} />
    </Layout>
  );
}
To access the menu items, we have to add them to the MyApp function.
function MyApp({Component, pageProps, menuItems}) {
  return (
    <Layout menu={menuItems}>
      <Component {...pageProps} />
    </Layout>
  );
}
And with this, we have a fully functional universal layout.
_apploads the menu and passes it to our layout componentlayoutworks as the main layout and renders the header
If we now run our application, we can see the menu work on all pages automatically.

You can find the complete code on GitHub.
Thank you for reading, and let's connect!
Thank you for reading my blog. Feel free to subscribe to my email newsletter and connect on Facebook or Twitter



