# Angular component interaction using @Input and @Output
Many times you will have a component that needs to receive or send data to its parent component.
Let's draw the following example, we will have an app component, and inside an alert component.
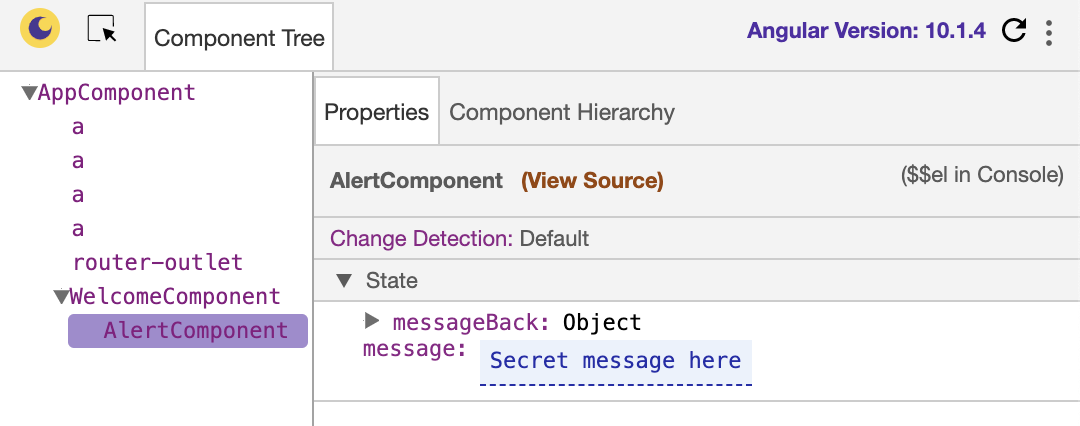
The alert component needs to receive a message to show.
Once we click a button, the parent needs to know what happened.
For this, we can use the @Input to receive, and @Output to emit a change or action.
## Setting up our components
We will be using the app we've used before. You can find the starter on [GitHub](https://github.com/rebelchris/angular-starter-demo/tree/feature/routing).
Let's add our alert component, open the terminal, and execute this generate command in your project folder.
```bash
ng generate component alert
```
Now we can add this component in our `welcome.component.html`.
```html
Welcome page
```
That's cool. We should see this when we run our app.
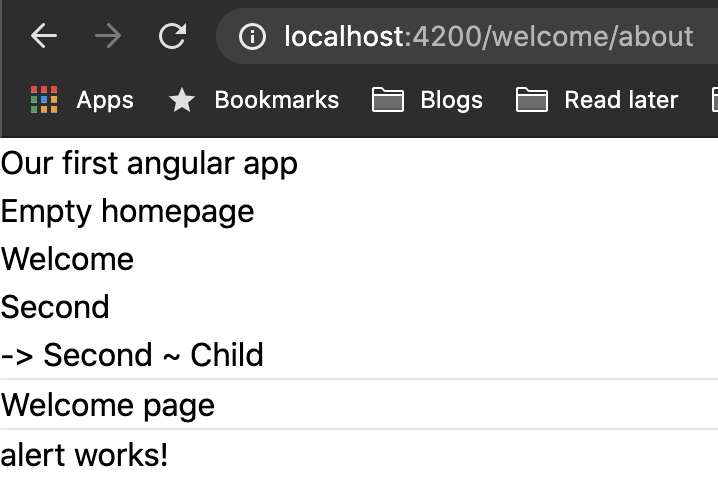
But how do we get data on this component?
## Angular understanding the @Input decorator
So let's say we want to send a simple message to our `alert` component. That's where we use the @Input decorator for.
We must first add this declaration to our `alert.component.ts`.
```js
import { Component, OnInit, Input } from '@angular/core';
@Component({
selector: 'app-alert',
templateUrl: './alert.component.html',
styleUrls: ['./alert.component.scss']
})
export class AlertComponent implements OnInit {
@Input() message: string;
constructor() { }
ngOnInit(): void {
}
}
```
Let's also add this message to our HTML.
```html
Alert: {{ message }}
```
Hmm, so now we need to find a way to set this message from our `welcome.component.ts`.
Let's define a message to send there.
```js
@Component({
selector: 'app-welcome',
templateUrl: './welcome.component.html',
styleUrls: ['./welcome.component.scss']
})
export class WelcomeComponent implements OnInit {
messageToSend: string = 'This is the message';
constructor() { }
ngOnInit(): void {
}
}
```
Then if we open our `welcome.component.html` we can send this message.
```html
```
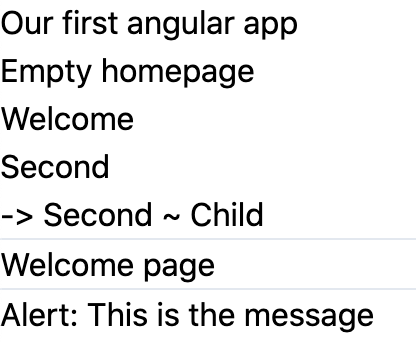
If we then run our app, we see the following result.
## Using the @Output decorator
It's cool to send data across to our child component, but how do we receive actions back?
This is where the @Output decorator comes into play. This can use an `EventEmitter` to notify our changes.
Make the following change in our `alert.component.ts`.
```js
import { Component, OnInit, Input, Output, EventEmitter } from '@angular/core';
@Component({
selector: 'app-alert',
templateUrl: './alert.component.html',
styleUrls: ['./alert.component.scss']
})
export class AlertComponent implements OnInit {
@Input() message: string;
@Output() messageBack = new EventEmitter();
constructor() { }
ngOnInit(): void {
}
sendMessageBack(message: string) {
this.messageBack.emit(message);
}
}
```
Here you can see we are setting the @Output as an EventEmitter.
Then we added a new function called `sendMessageBack` this accepts a string.
Once it's called, it emits the message to the output.
We can then add this to our `alert.component.html` in the following way.
```html
Alert: {{ message }}
```
We now need to make sure our welcome component can receive this.
Let's change the `welcome.component.html`.
```html
Welcome page
```
Here you see we are setting the @Output (messageBack) to call a event called `getMessage`.
Let's create this getMessage function in our `welcome.component.ts`.
```js
getMessage(event) {
this.messageToSend = event;
}
```
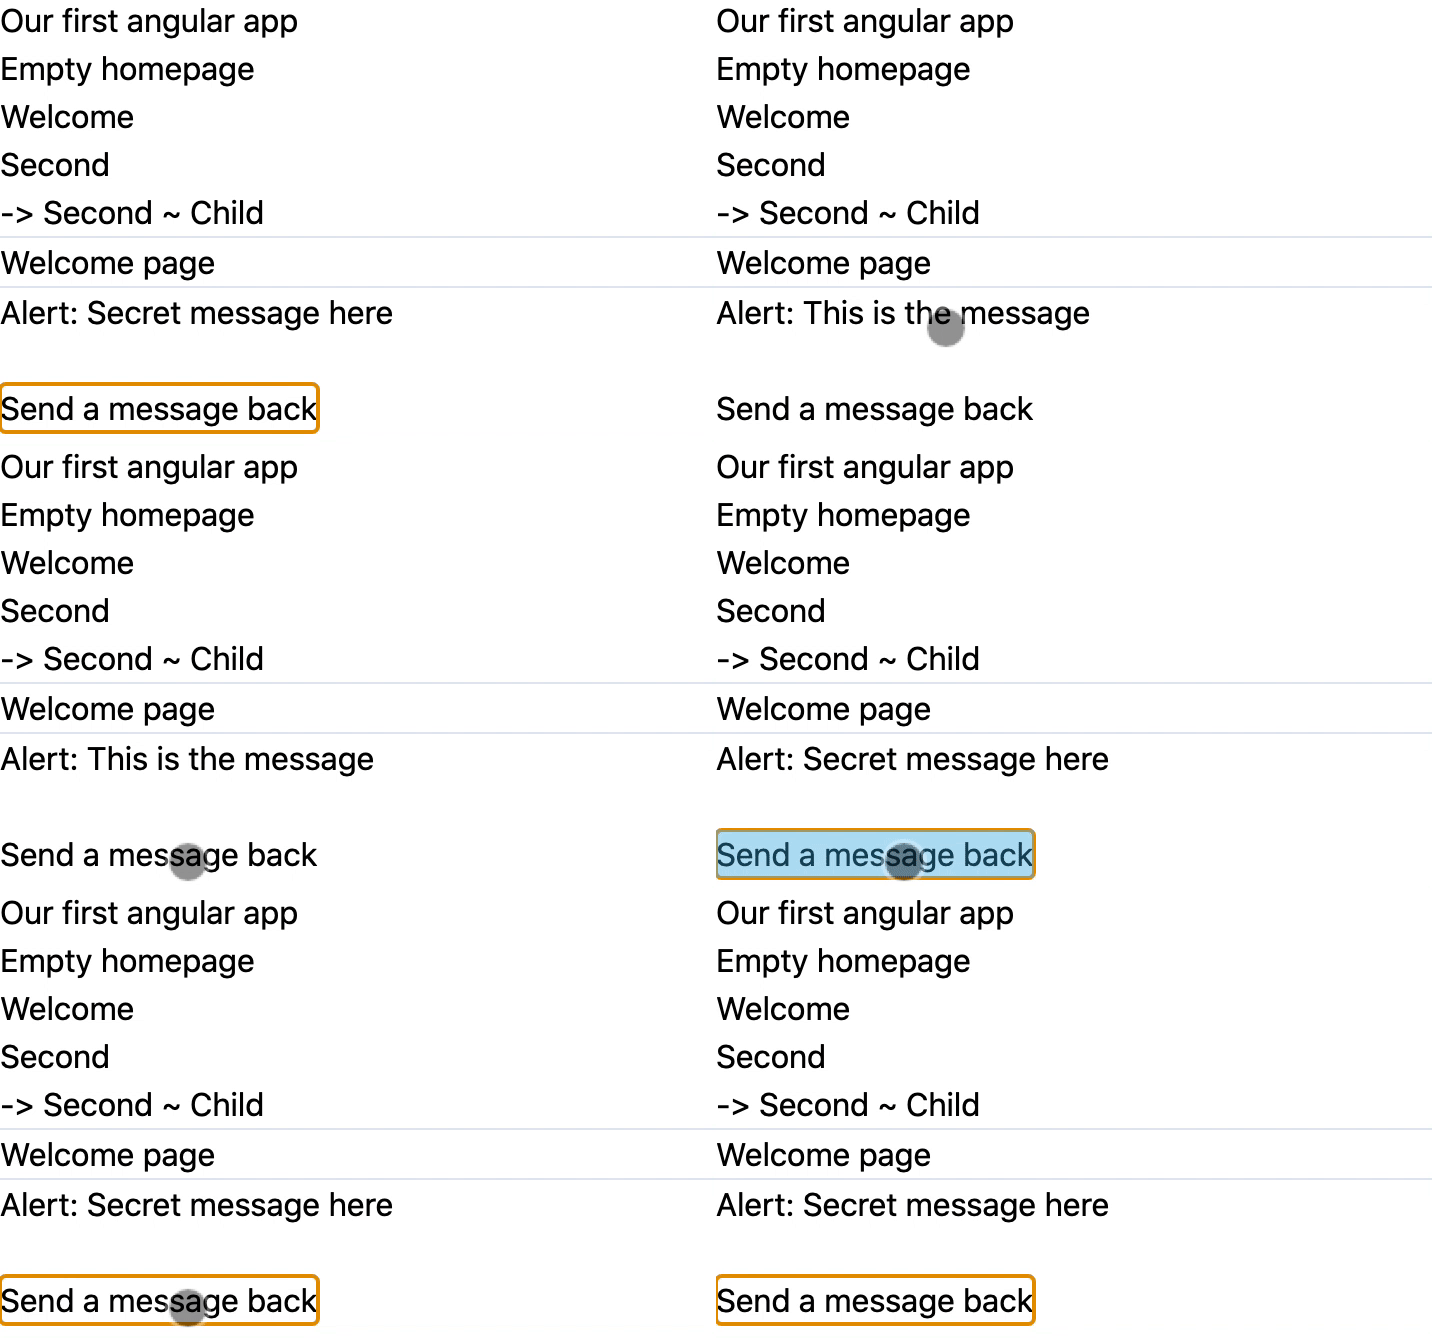
We will be setting the message we are sending to whatever we received.
If you now run the app and click the button, you'll see the message change!
You can find today's code in the following [GitHub](https://github.com/rebelchris/angular-starter-demo/tree/feature/input-output) project.
### Thank you for reading, and let's connect!
Thank you for reading my blog. Feel free to subscribe to my email newsletter and connect on [Facebook](https://www.facebook.com/DailyDevTipsBlog) or [Twitter](https://twitter.com/DailyDevTips1)