
Adding a user profile to our Supabase user

I'm a full-stack developer from South Africa 🇿🇦. I love writing about JavaScript, HTML and CSS.
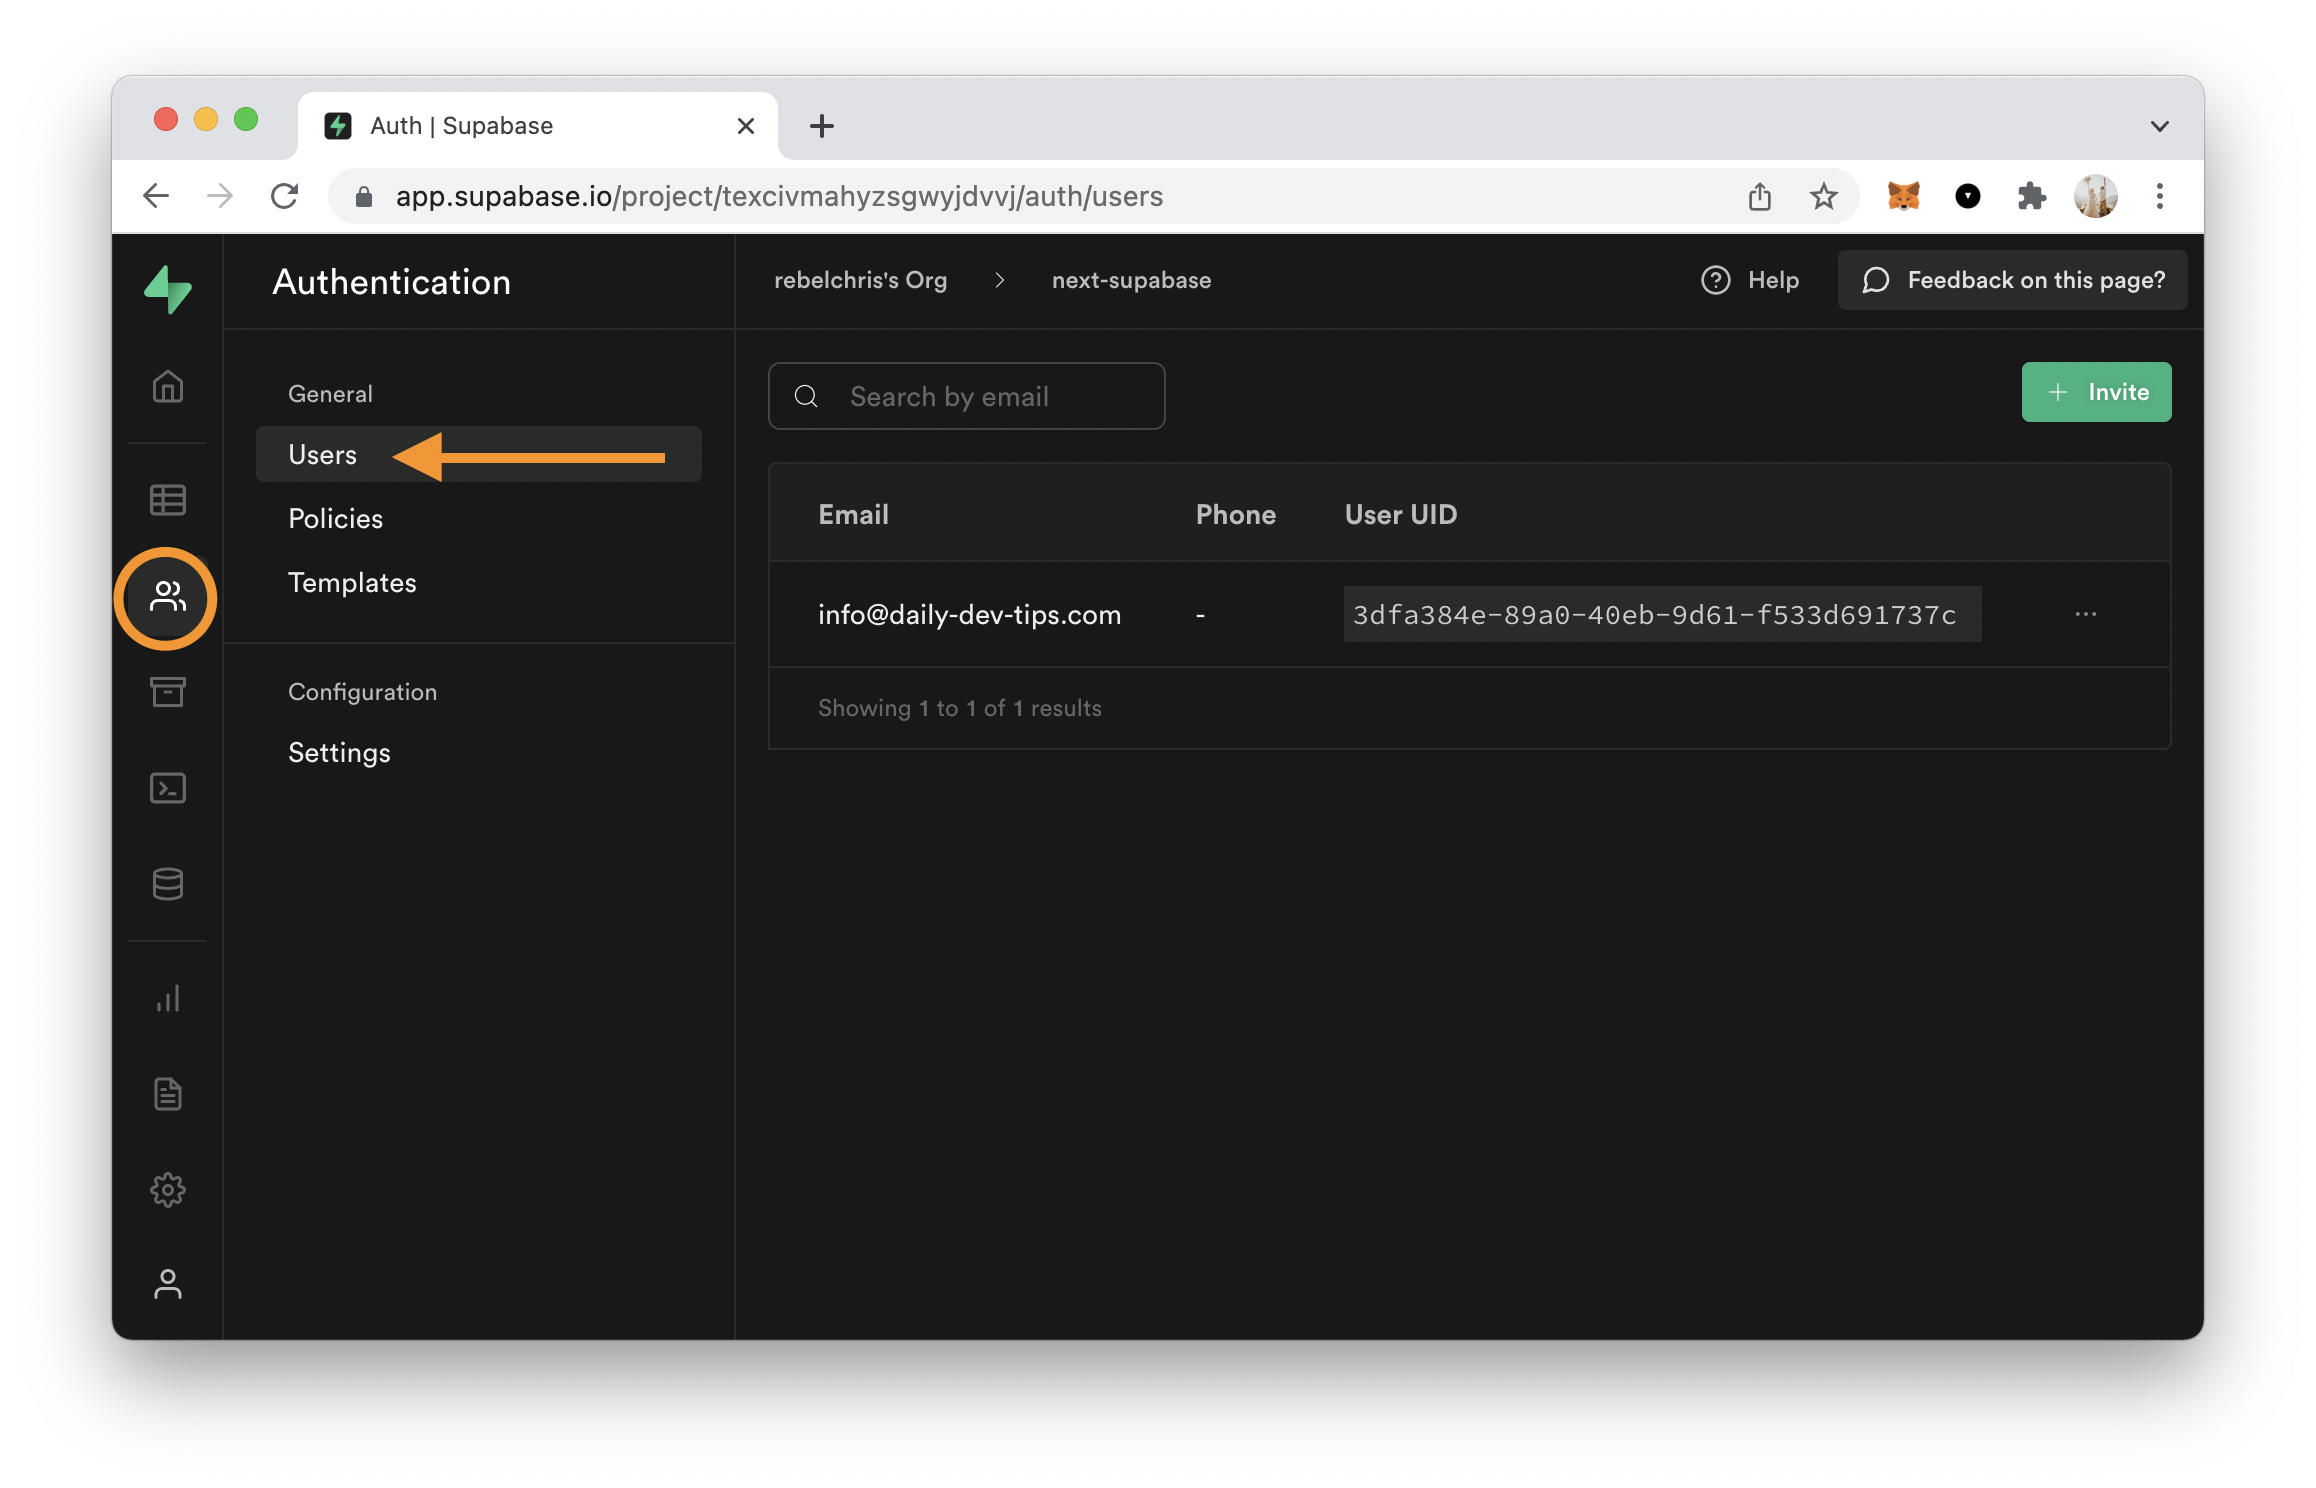
Now that we logged in with our magic link, we might have a user in Supabase, but we can't add any details to this user.
See the below image for where to find your authenticated users in Supabase.
Adding a profile table
The first thing we need to do is add a profile table to our Supabase database.
Luckily for us, Supabase has a great starter template for that.
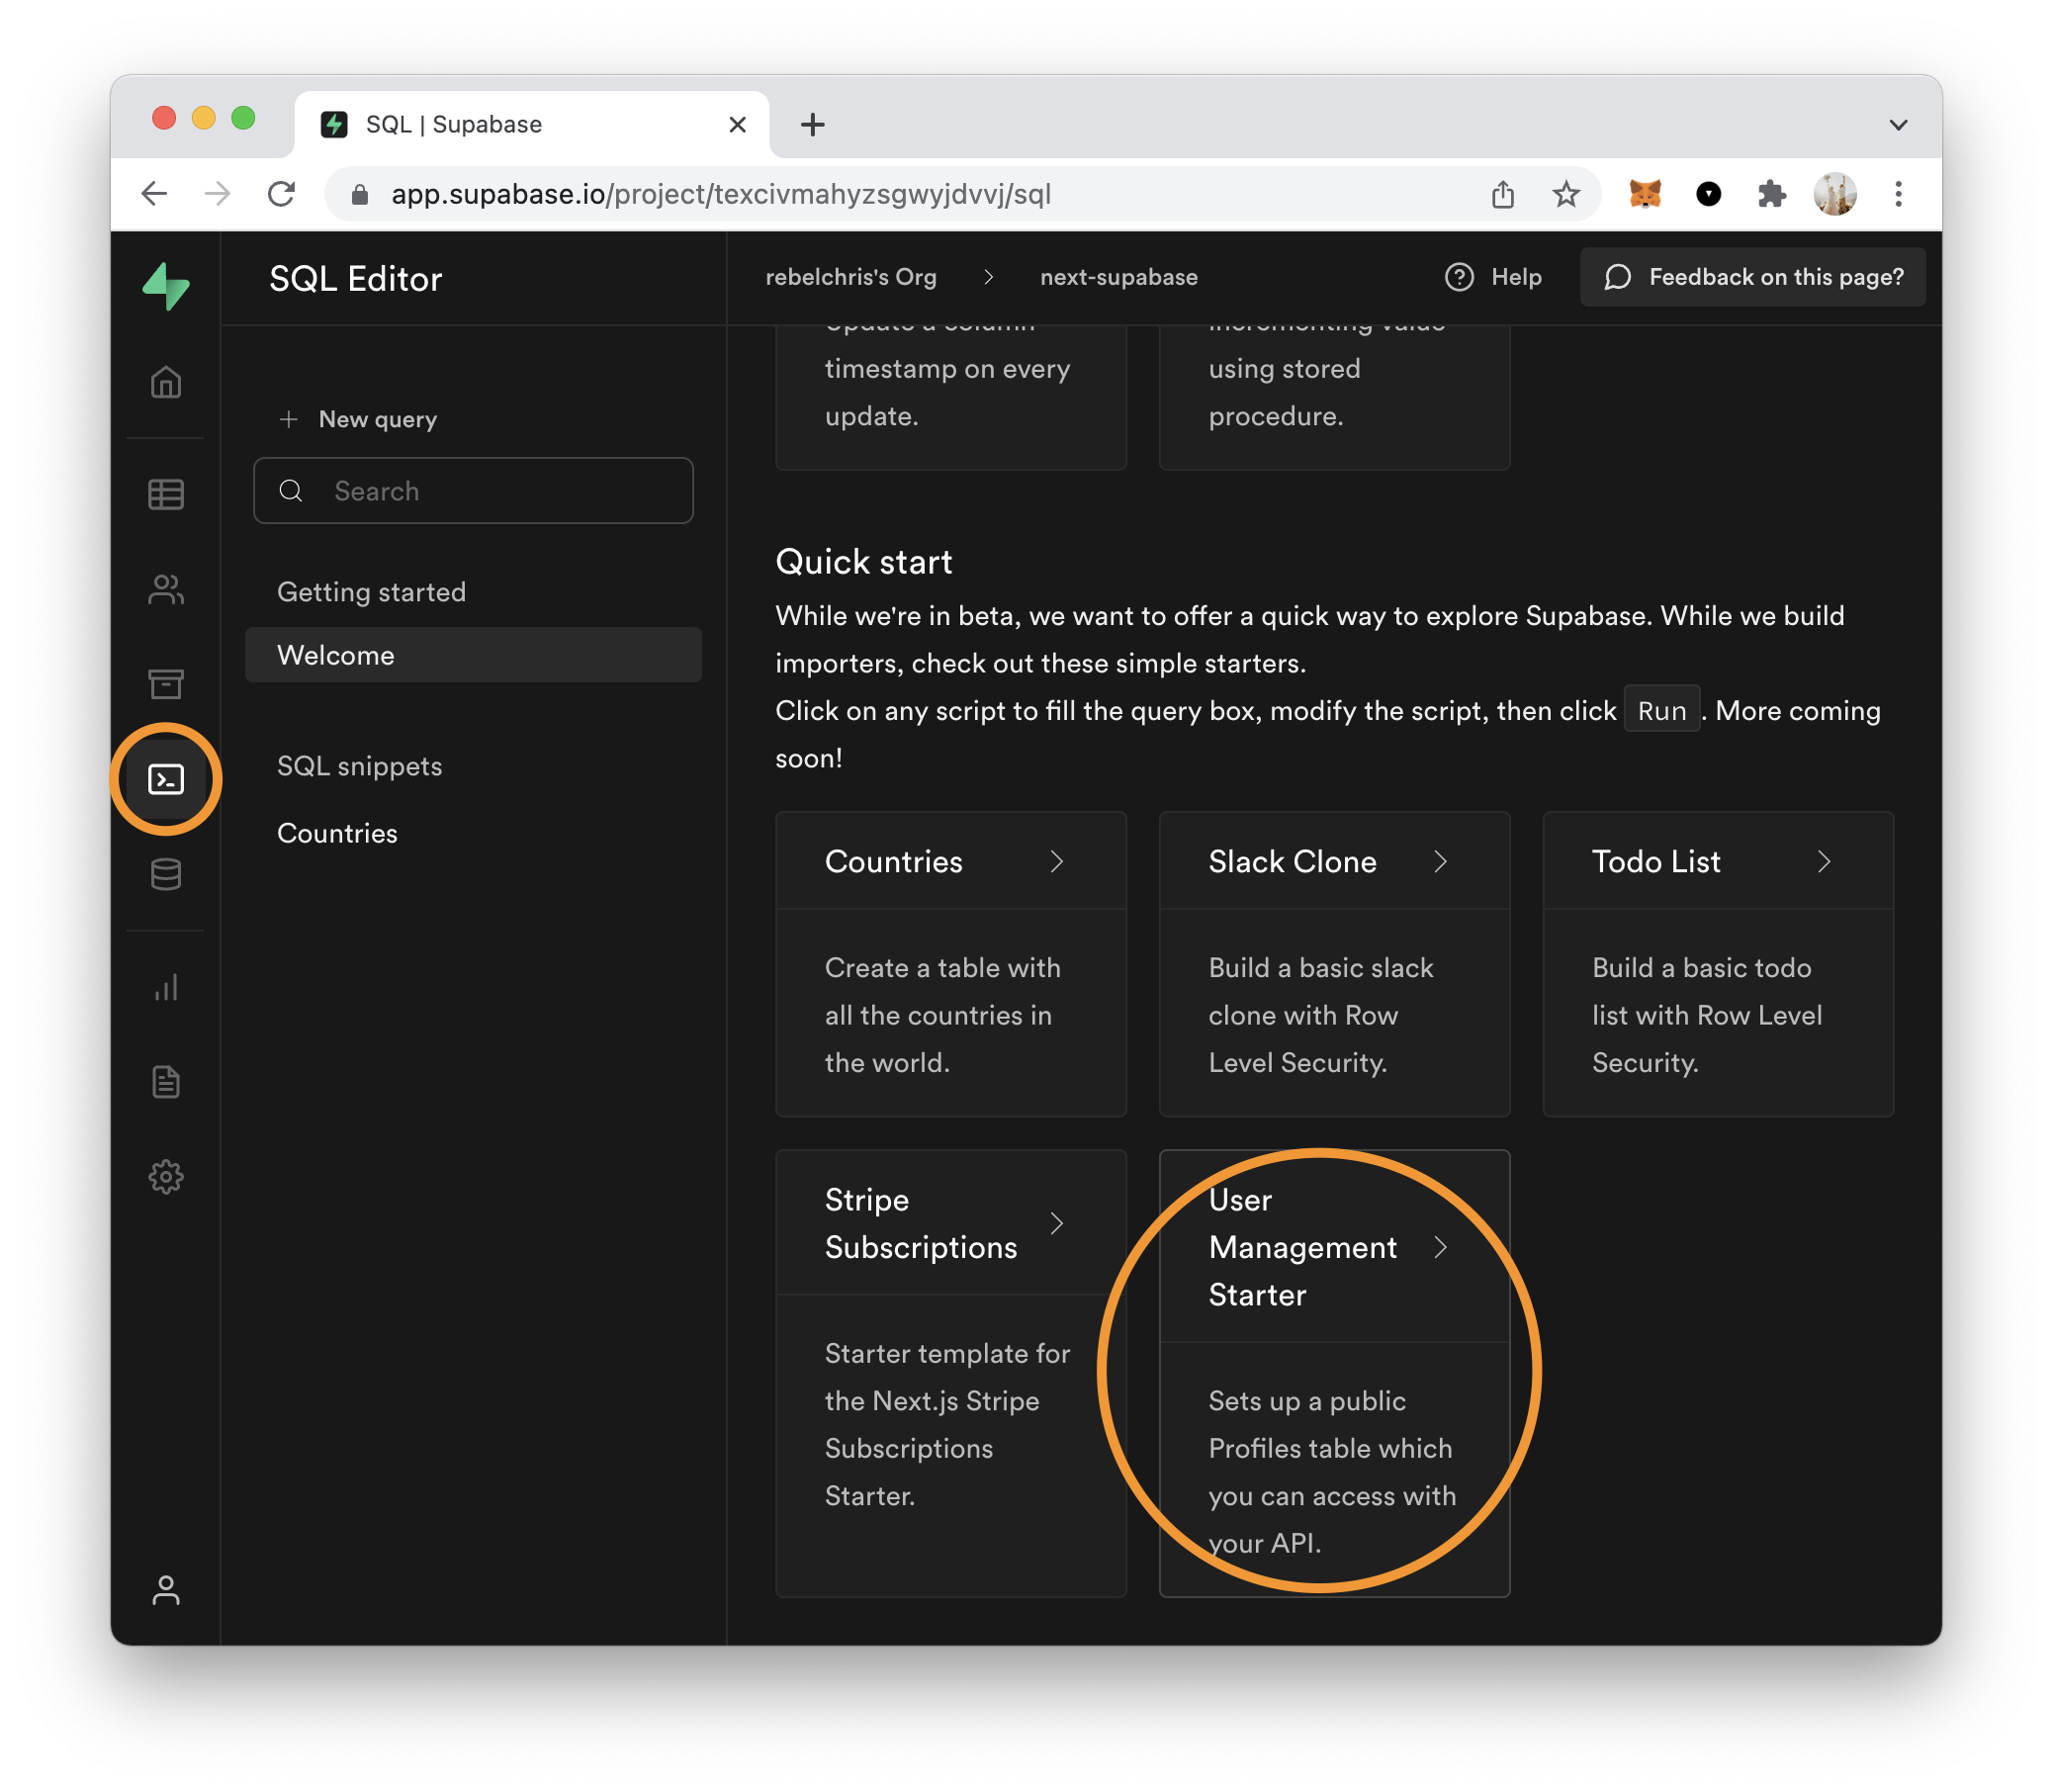
Once you click this, click the run button on the right, and you should end up with a user profile table.
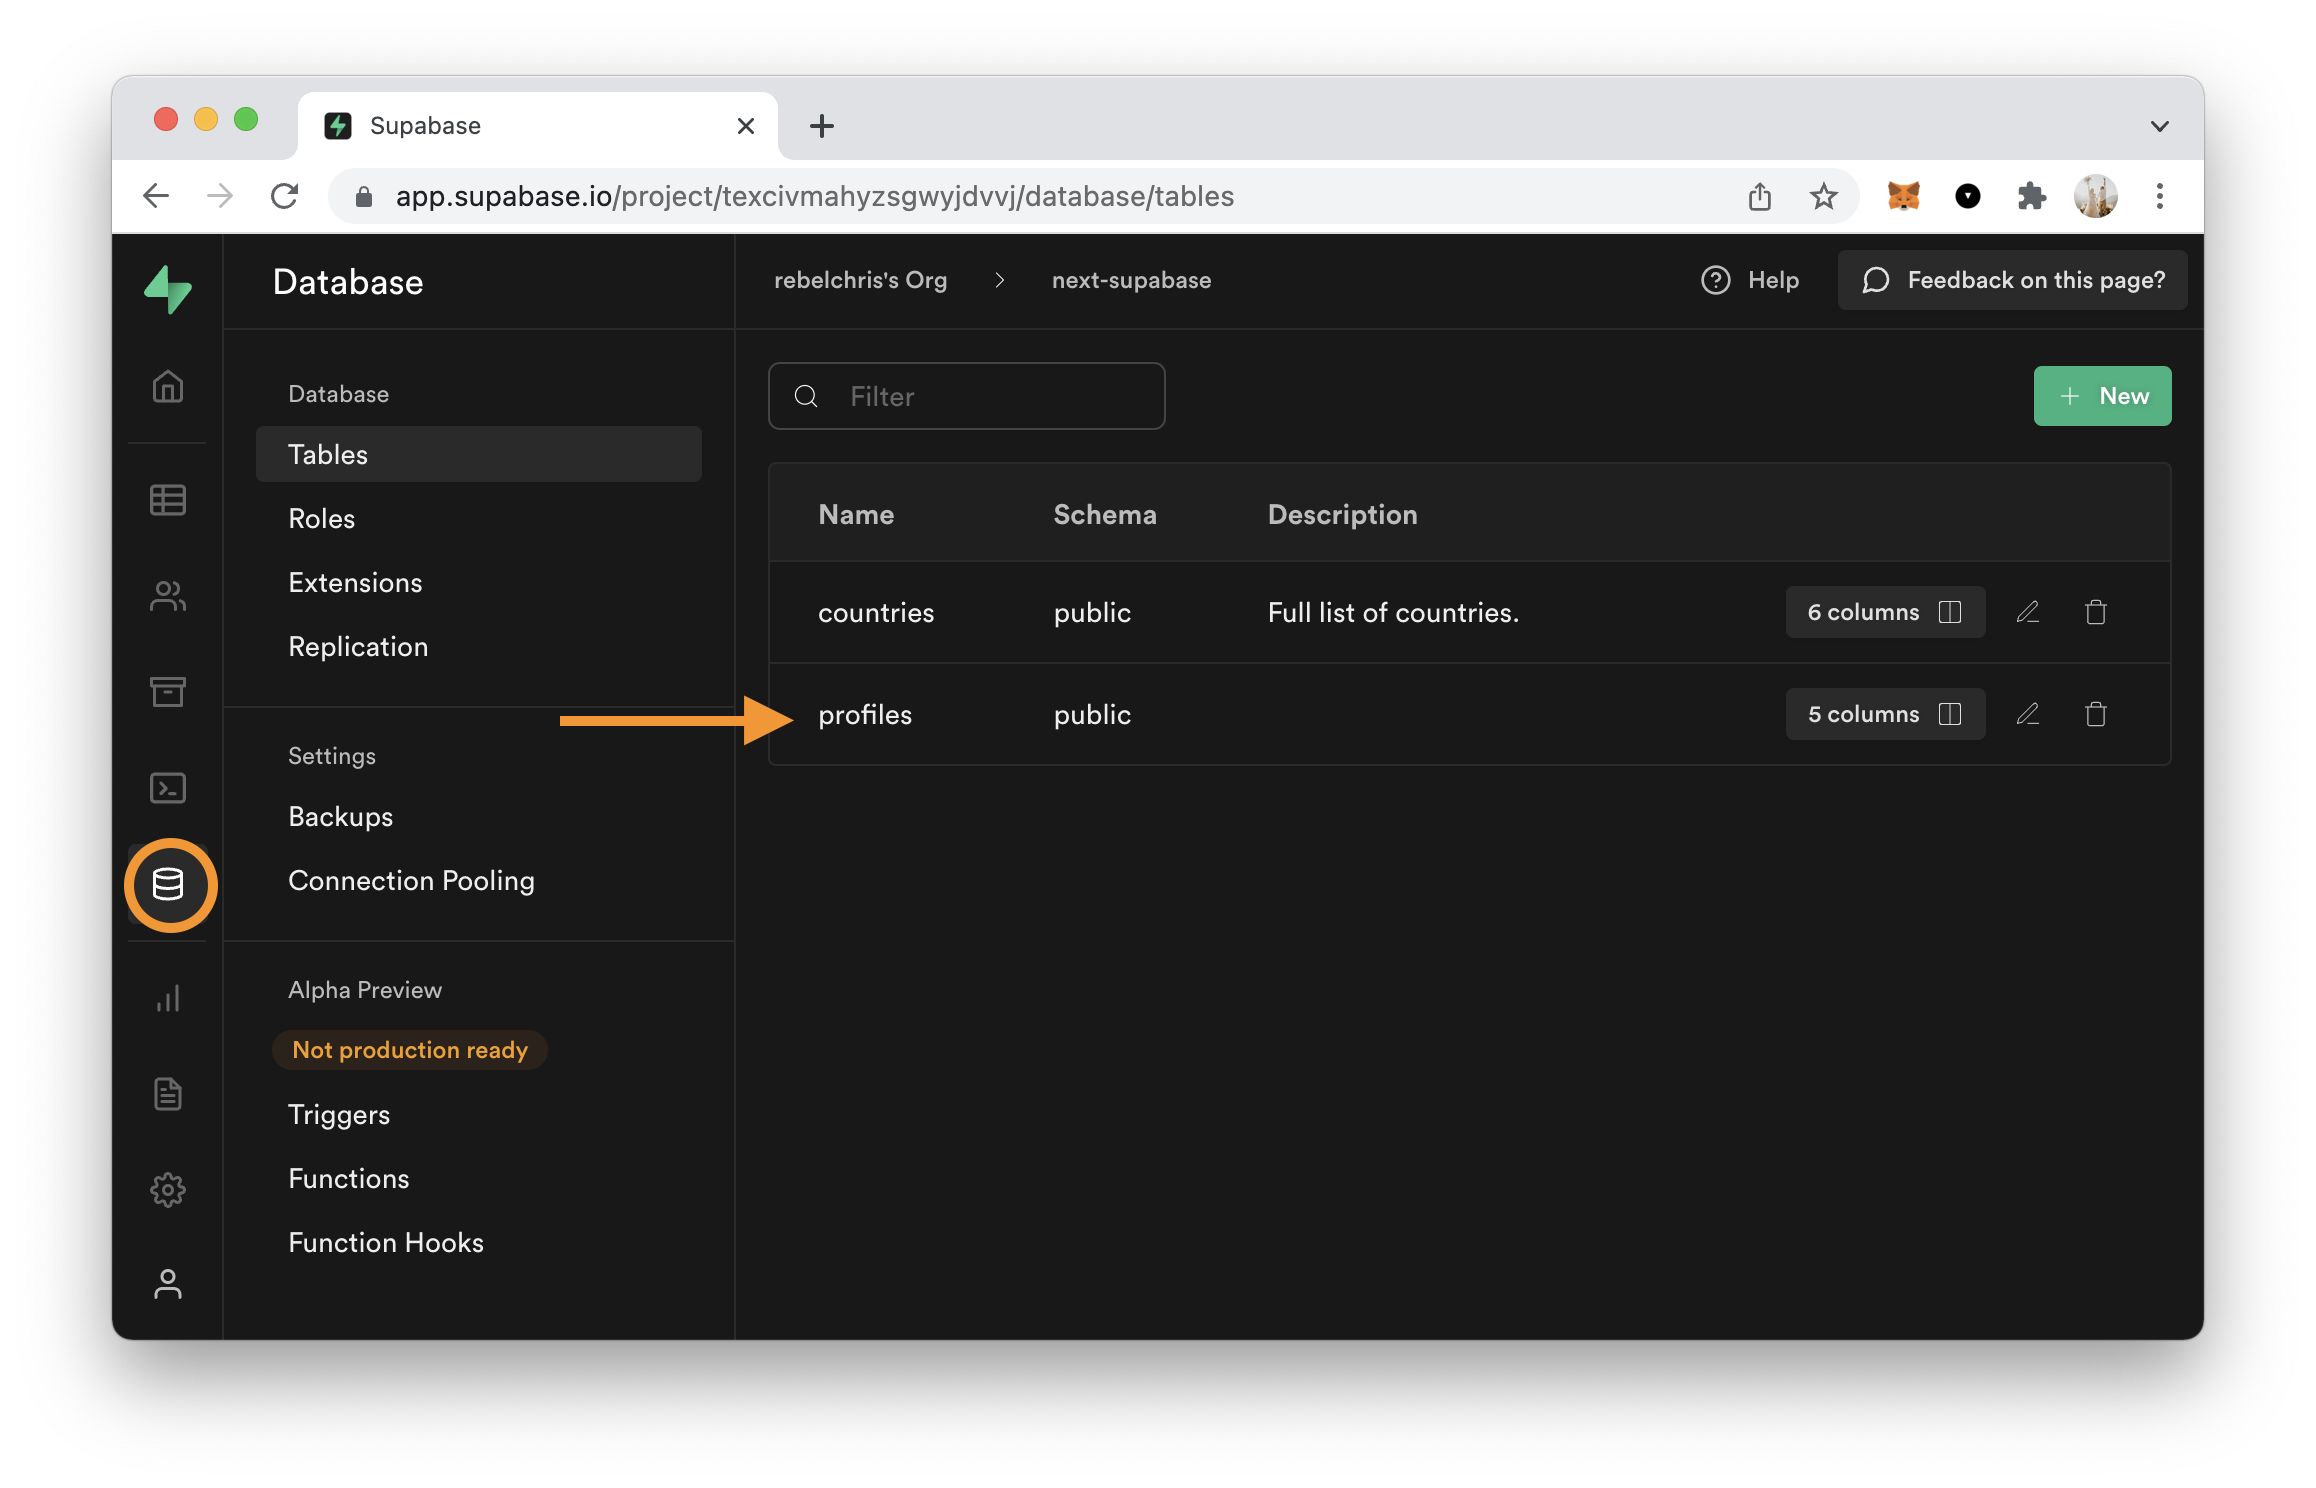
This table, by default, comes with username, avatar_url, and website.
Let's see how we can make the user set their username.
Modify the profile component
For now, we only used the session data to retrieve the email address. We need to add a function that will check if a row in the profile table exists.
Open up the components/Profile.js file and add the following function.
 async function getProfile() {
    try {
      const user = supabase.auth.user();
      let { data, error, status } = await supabase
        .from('profiles')
        .select(`username`)
        .eq('id', user.id)
        .single();

      if (error && status !== 406) {
        throw error;
      }

      if (data) {
        setUsername(data.username);
      }
    } catch (error) {
      alert(error.message);
    }
}
This function will query our profiles table and search for someone with the user id.
In the first instance, it will fail as we don't have this set up yet.
But let's render a form field so the user can set their username.
<input className='my-4 border-2 border-gray-500 rounded-xl p-4 w-full' type='username' placeholder='Enter a username' value={username} onChange={(e) => setUsername(e.target.value)} />
<button onClick={(e) => { e.preventDefault(); updateProfile();}} className='w-full mt-4 p-2 pl-5 pr-5 bg-blue-500 text-gray-100 text-lg rounded-lg focus:border-4 border-blue-300'>
    <span>Update profile</span>
</button>
Once the user clicks this button, we invoke the updateProfile method, so let's go ahead and create that.
async function updateProfile() {
    try {
      const user = supabase.auth.user();
      const updates = {
        id: user.id,
        username,
        updated_at: new Date(),
      };

      let { error } = await supabase.from('profiles').upsert(updates);
      if (error) {
        throw error;
      }
    } catch (error) {
      alert(error.message);
    }
}
This function will upsert the profiles table with our user id (based on the session) and the username chosen by the user.
The next time we come back, we should see our username already populated as it now exists in the database.
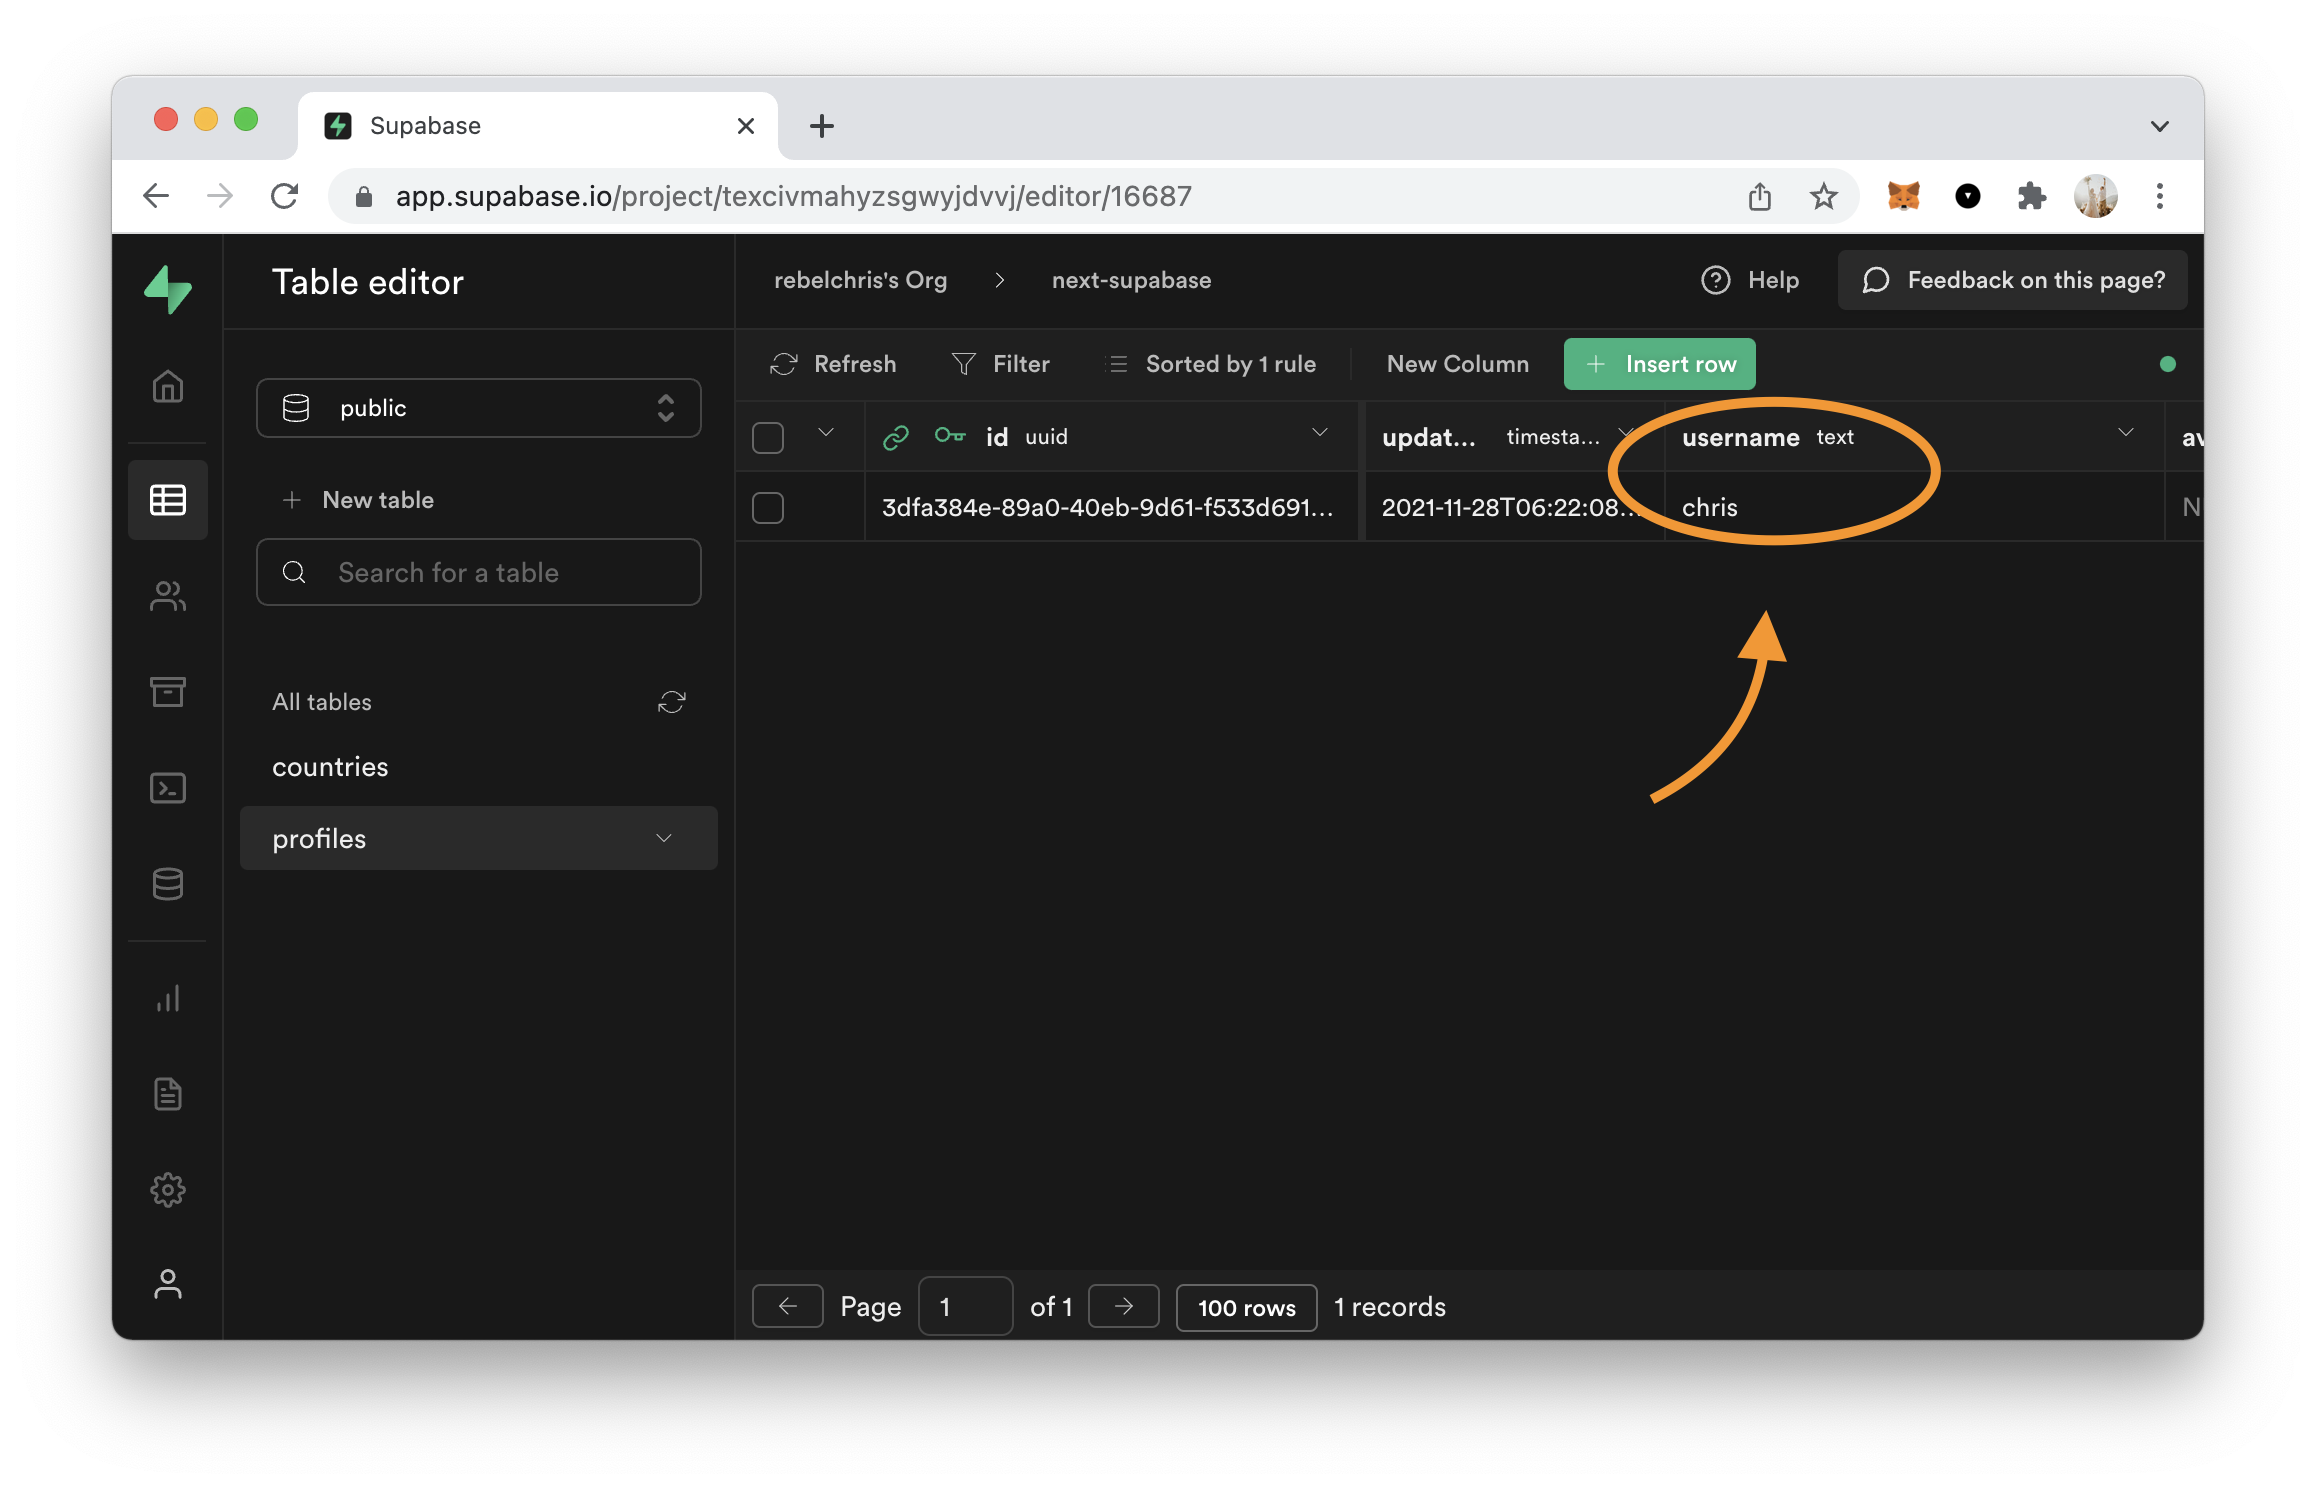
You can also find this completed code sample on GitHub.
Thank you for reading, and let's connect!
Thank you for reading my blog. Feel free to subscribe to my email newsletter and connect on Facebook or Twitter



